Working Safe

In our Planning 10 course, before we get to anything else, we’ve been looking at safety in the workplace. This is very important for anyone who has a job, or is looking to get one (me).

We first started out with a short quiz on our  work experience we already have, but since I haven’t had any work experience, I didn’t have to answer many of the questions.

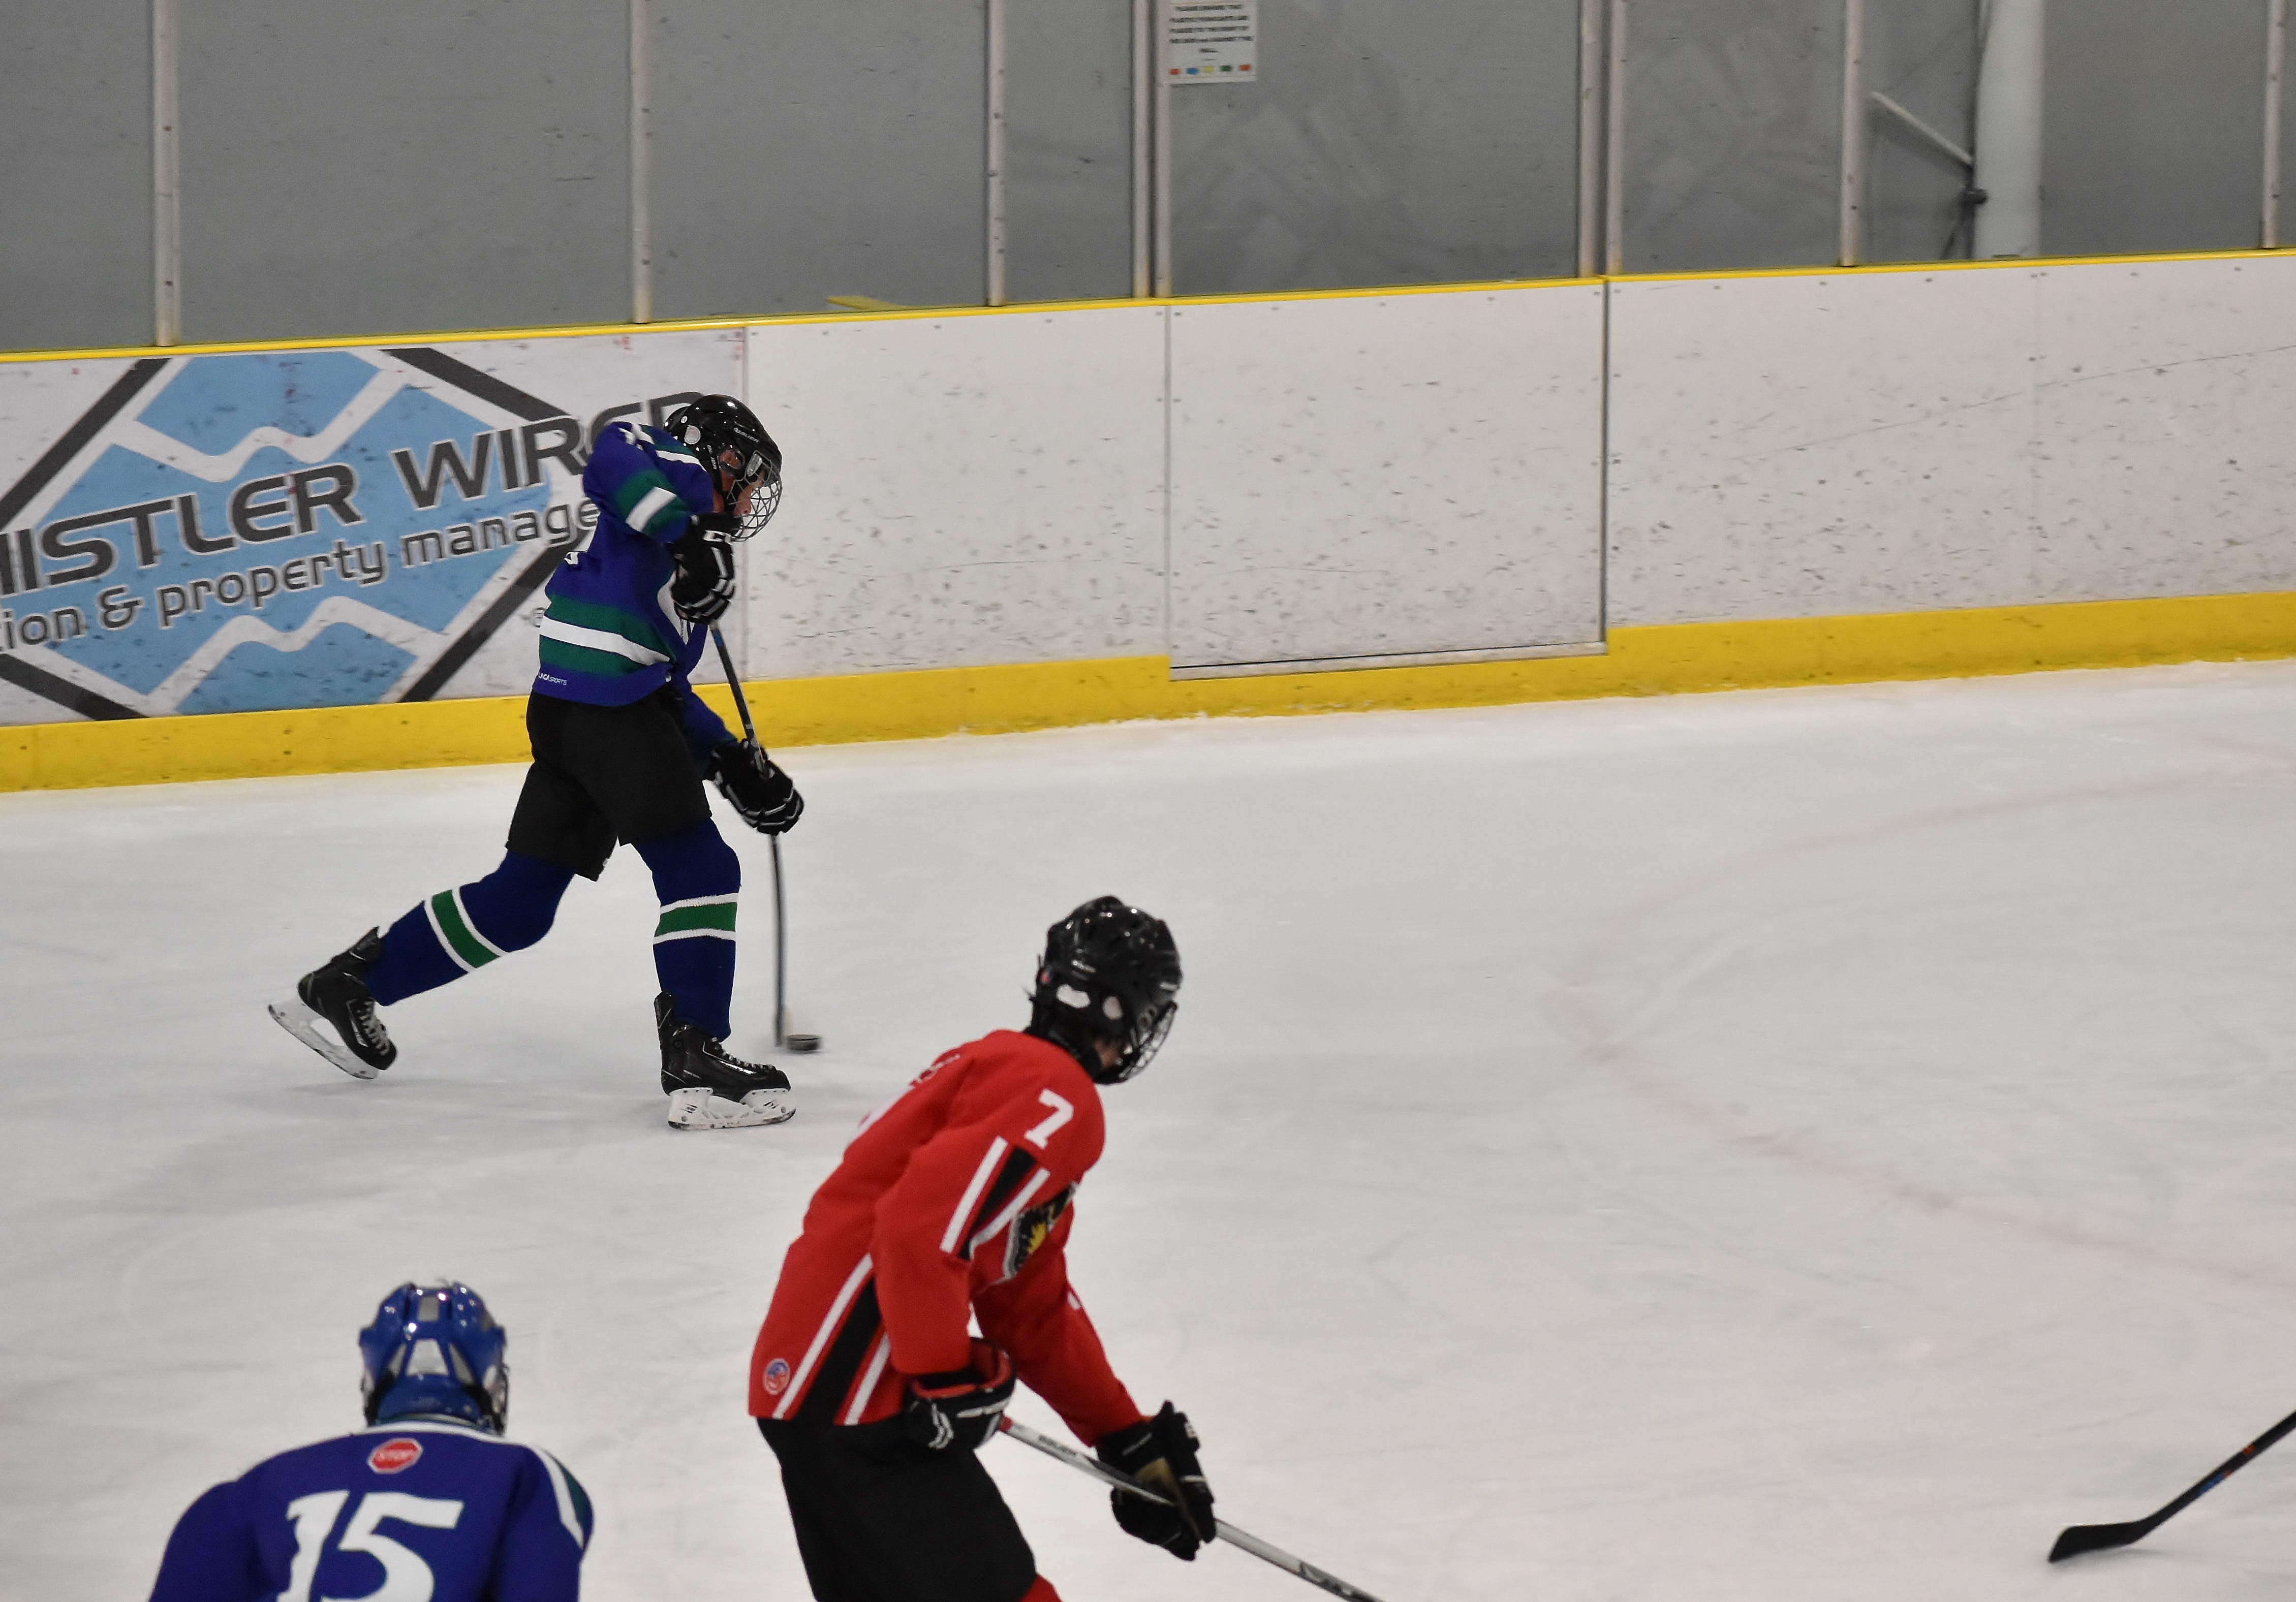
In my near future, I think I’d like to be a ski instructor, hockey referee, or just work at a local store.

The next item on the to-do list is to watch a video about real people who were injured on their job, and what their life is like now. We watched this because it really shows us how our life could change in an instant if we don’t know what we are doing while working.

This video was very realistic in the fact that we do need to be careful, and to know our rights as a worker to refuse anything we don’t feel safe doing.

Another small activity we did to find out the rules and regulations between the employer and the employee, was to search the regulation!  In this task we had to look up different rules in this worksafe BC website that will help us find the answer to the questions. These questions were about different situations that could happen while you’re working, and what you can do about it.

This helped me because I know now that I don’t have to anything I feel is unsafe when I get a job, and that I have rights as a worker, wherever I work.

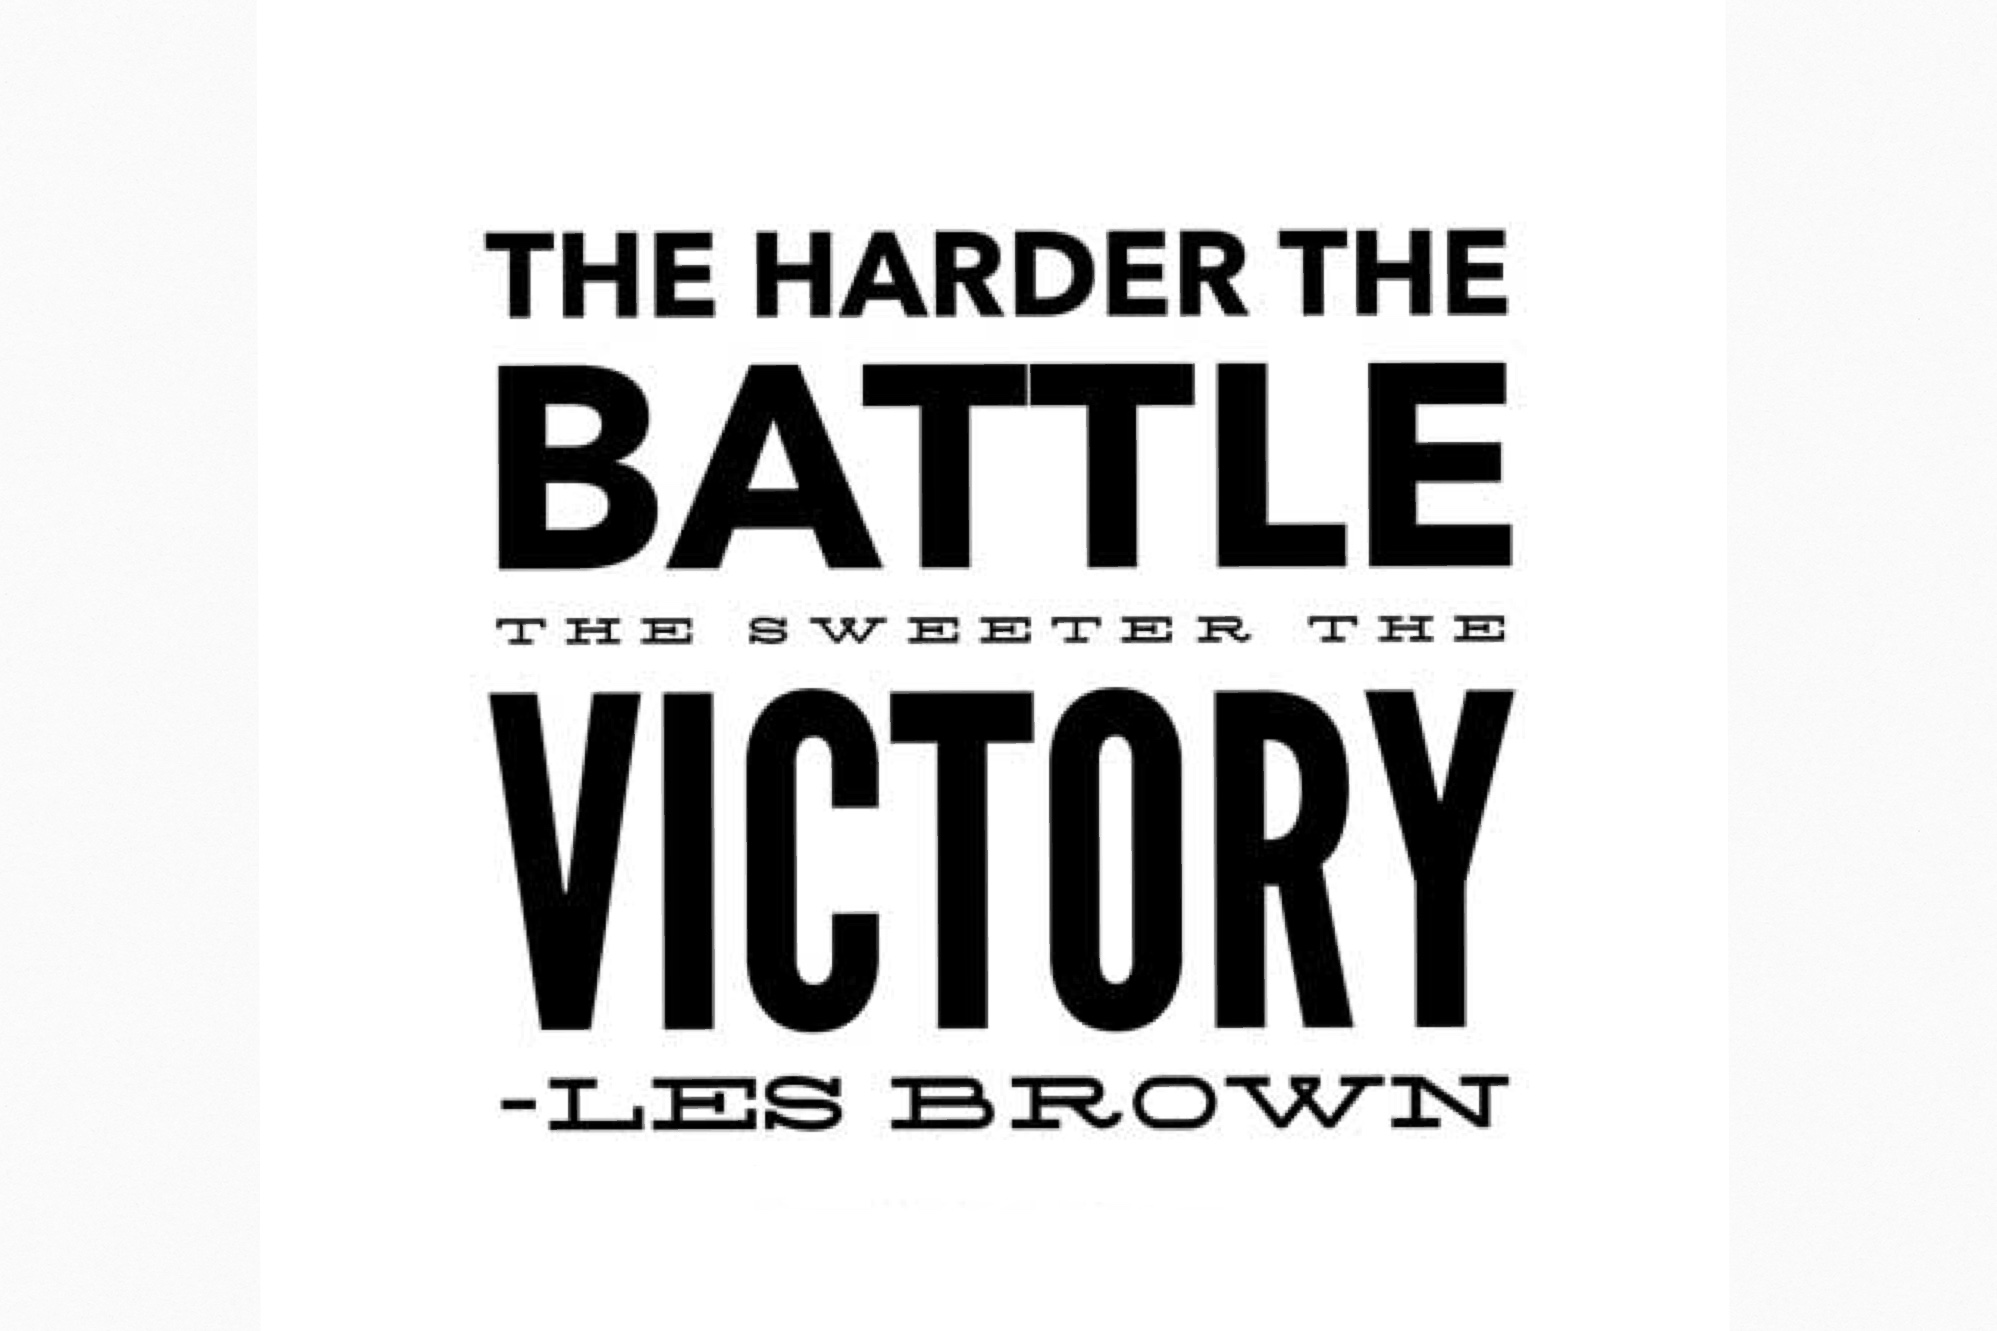
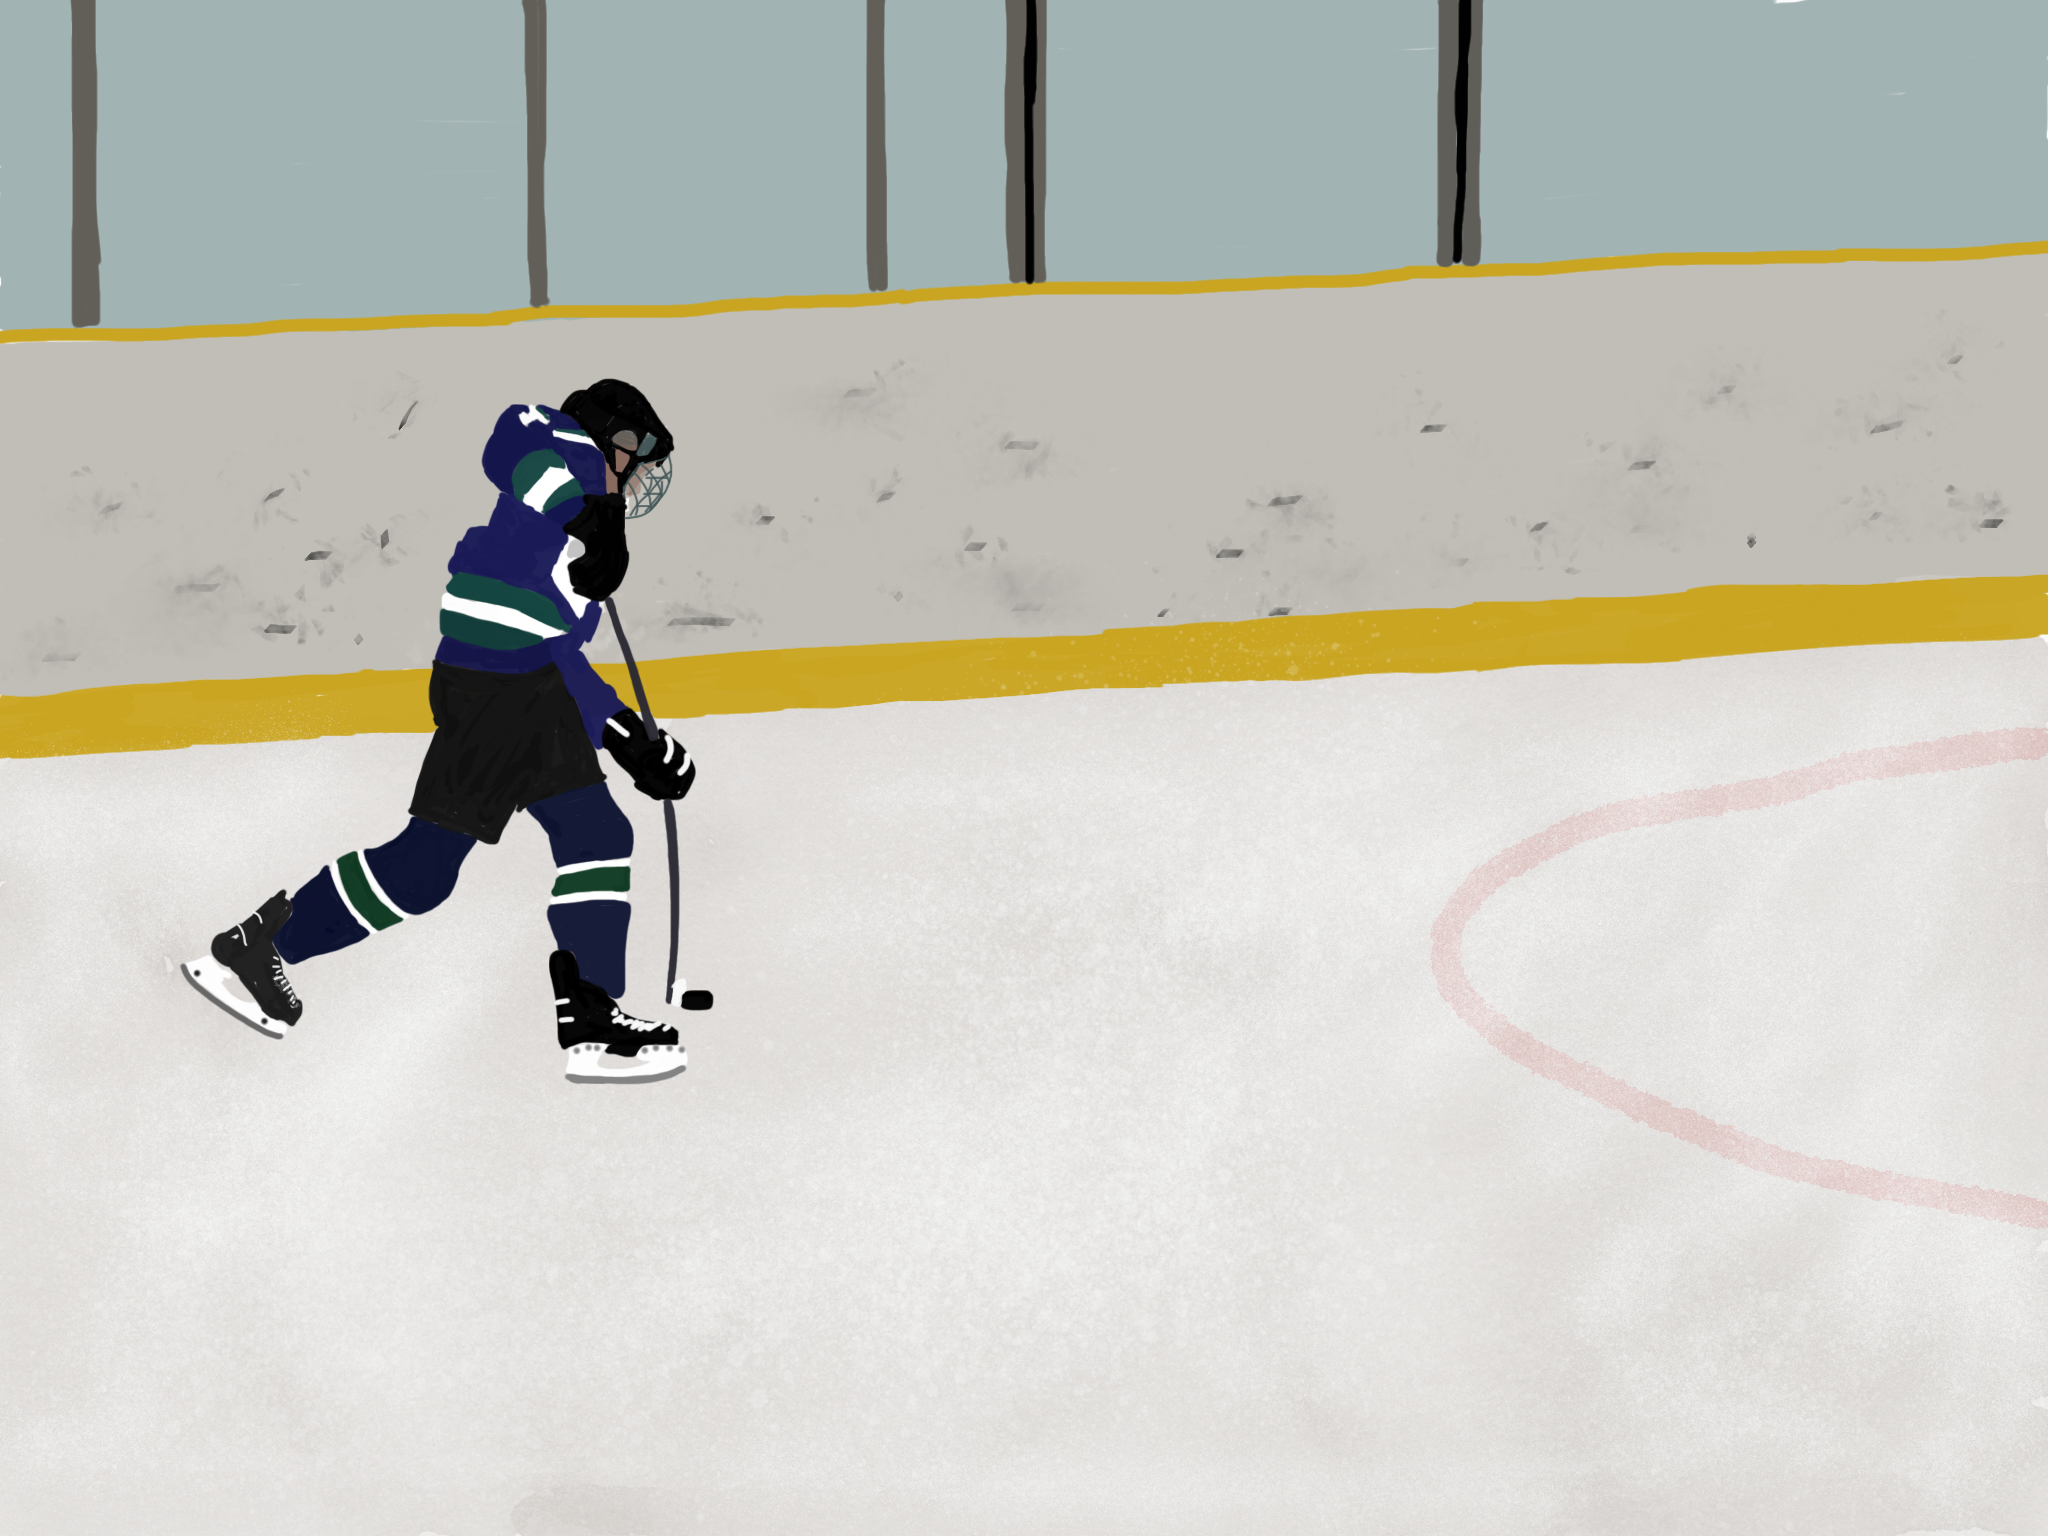
To finish off this assignment, we needed to create a visual that would summarize what we just learned. And this is what I created:

I created this to show what really could end up happening if you’re not careful, and to show the importance of knowing that you can say no to working something unsafe.

Thats all for this unit so far,


See you

Planning Our Life On A Quote

This year, since we are in grade ten now, we are doing a course called Planning 10. This course makes us think about our future career and how to get there. This post is about the first project we are doing in this course.

Our first step: Quote

The first thing we needed to do was find a quote that is meaningful to us personally. It can speak to us anyway we want and can be from anywhere. I first started looking for my quote by looking up quotes from some professional athletes I know, but didn’t find anything from them. Then, I kind of came across a quote I’m pretty sure I’ve heard before, but I didn’t know where from.

I chose this one because it can relate to many areas of my life, and it says that what you put in, you get out. It applies to my schoolwork, sports like hockey or mountain biking, and my personal life. I will have a better reward from a stronger effort.

Second Step: Visual

Now that we have our quote, we needed to find a photo that we think supports or goes with that quote. This is the photo I chose to represent the quote:

We then had to take that photo, and using our new drawing app, Sketches Pro, draw or trace a similar image. Since I hadn’t used Sketches Pro before, it took a while to get used to, but I figured it out as I went on.

That was my finished product. I just traced myself, then the boards in another layer, and the ice surface in another layer, with the layer of me on top.

Third Step: Audio

With our image ready, we needed to add our quote to that image. But not just writing it onto the photo. I recorded myself saying the quote, and who said it, Les Brown, and then we had one more thing to do. In GarageBand, we had to make copyright free music that suited the tone of the quote. I used the Strings section, which is an orchestra of violins and chellos, and I used the keyboard. I added the music to my voice, and viola! I had me a soundtrack.

Final Step: Final Product

My last task was to put the pieces together. I opened iMovie and inserted my image, and then imported my GarageBand song from iCloud. And this is what all the steps put into one short video look like:

https://youtu.be/XNA6RDw4Iis

This project was fun, and interesting. My favourite part was tracing the photo and learning about Sketches Pro. The project didn’t take long to do once the photo was drawn out. Putting it all together and seeing the product of my hard work is what I like about these projects.

Anyways,

See you

Smart Goals Are Almost As Smrt As Me

In PLP 10 now, yes, summer has now turned into grade 10, we have been working on something called SMART Goals. They are something we want to accomplish this year. SMART is an acronym in this case, here’s what it is:

We needed to base our goals on this acronym, and check that our goals meet all those standards.

We needed to write three different goals. A goal about learning in school, a goal about growth as a person, and a goal about learning outside of school.

My first goal (about learning in school):

1. I want to be able to manage my time with PE online responsibly and successfully so I can achieve an A grade by using a spare block to work on PE online.

I made this goal because I just recently took the class PE online because that was the only way I could take my favourite clsss, engineering. I now have to manage my time because it’s a self-paced class, and I need to be organized so I don’t fall behind.

My second goal (about growth as a learner):

2. I want to be able to grow as a better presenter by taking speaking opportunities presented to me, and recording my rehearsals to listen if I need to pronounciate any words better, or change my script.

I chose this goal because I really do want to improve my comfortability in front of an audience.

And my third goal (about learning outside of school):

3. I want to learn more about how I can be apart of the trail maintenance company that is in charge of the mountain bike trails in my community, and help out because I love mountain biking and I want to build trails.

This goal is about what I want to do when I’m not at school. I do want to volunteer my time to help maintain some of the trails near me that I ride so much.

The last thing we needed to do for this mini project was create some kind of visual to represent each of our goals, and an audio recording with it of us saying the goal that goes with it. My first one was this:

The visual I made with a few images, and it’s supposed to say that I need to do my homework and manage my time well so that I have time to do my PE online well, which is the silhouette of a guy running.

The second goal is about me getting better at presenting. Here’s the video:

The paper in the bottom corner represents practicing and writing my script again and again until it’s perfect, and the restart button in the other corner represents me recording my speech and restarting if I need to.

The next goal (learning outside of school):

The rider is heading up to where he has to work, and the sign represents I’ll be working on bike trails, and the shovel represents the hard work it will take to move and shape all the dirt.

This project took a lot of thinking ahead, and careful thought on how to represent it in a visual. It really makes you think of what you want to accomplish this school year. I really enjoyed creating the visuals for our goals. Overall, an interesting and fun project


See you,