🌲How do I creatively communicate who I am?🌲
For our first project of the year, we wanted to learn more about ourselves and our peers, as well as creatively communicating who we are via an instruction manual.
In the beginning of our project, to get to know ourselves a bit better, we started off with a word pack image. Consisting of “I am” statements. We were able to change the shape, colour, and spacing in our images to customize it to your liking. I got to learn a lot about myself in this part, one of my favourite parts about this was that I could get to know my peers a bit better.
⬇️here is how my word pack image turned out⬇️
Once we finished our word pack image, we went onto our “I know” and “I think” and “I wonder” statements. That helped us get to know ourselves, and others interests, ideas, and questions. We did this by writing out those statements (ex. “I wonder” statements, we would write something we wonder about) on sticky notes. Me and a couple of other people organized the sticky notes into three categories; Knows, Need To Know, and Next Steps. Each chain of sticky’s show that the content on them are either similar, or the same.
⬇️this is how the sticky notes look like⬇️
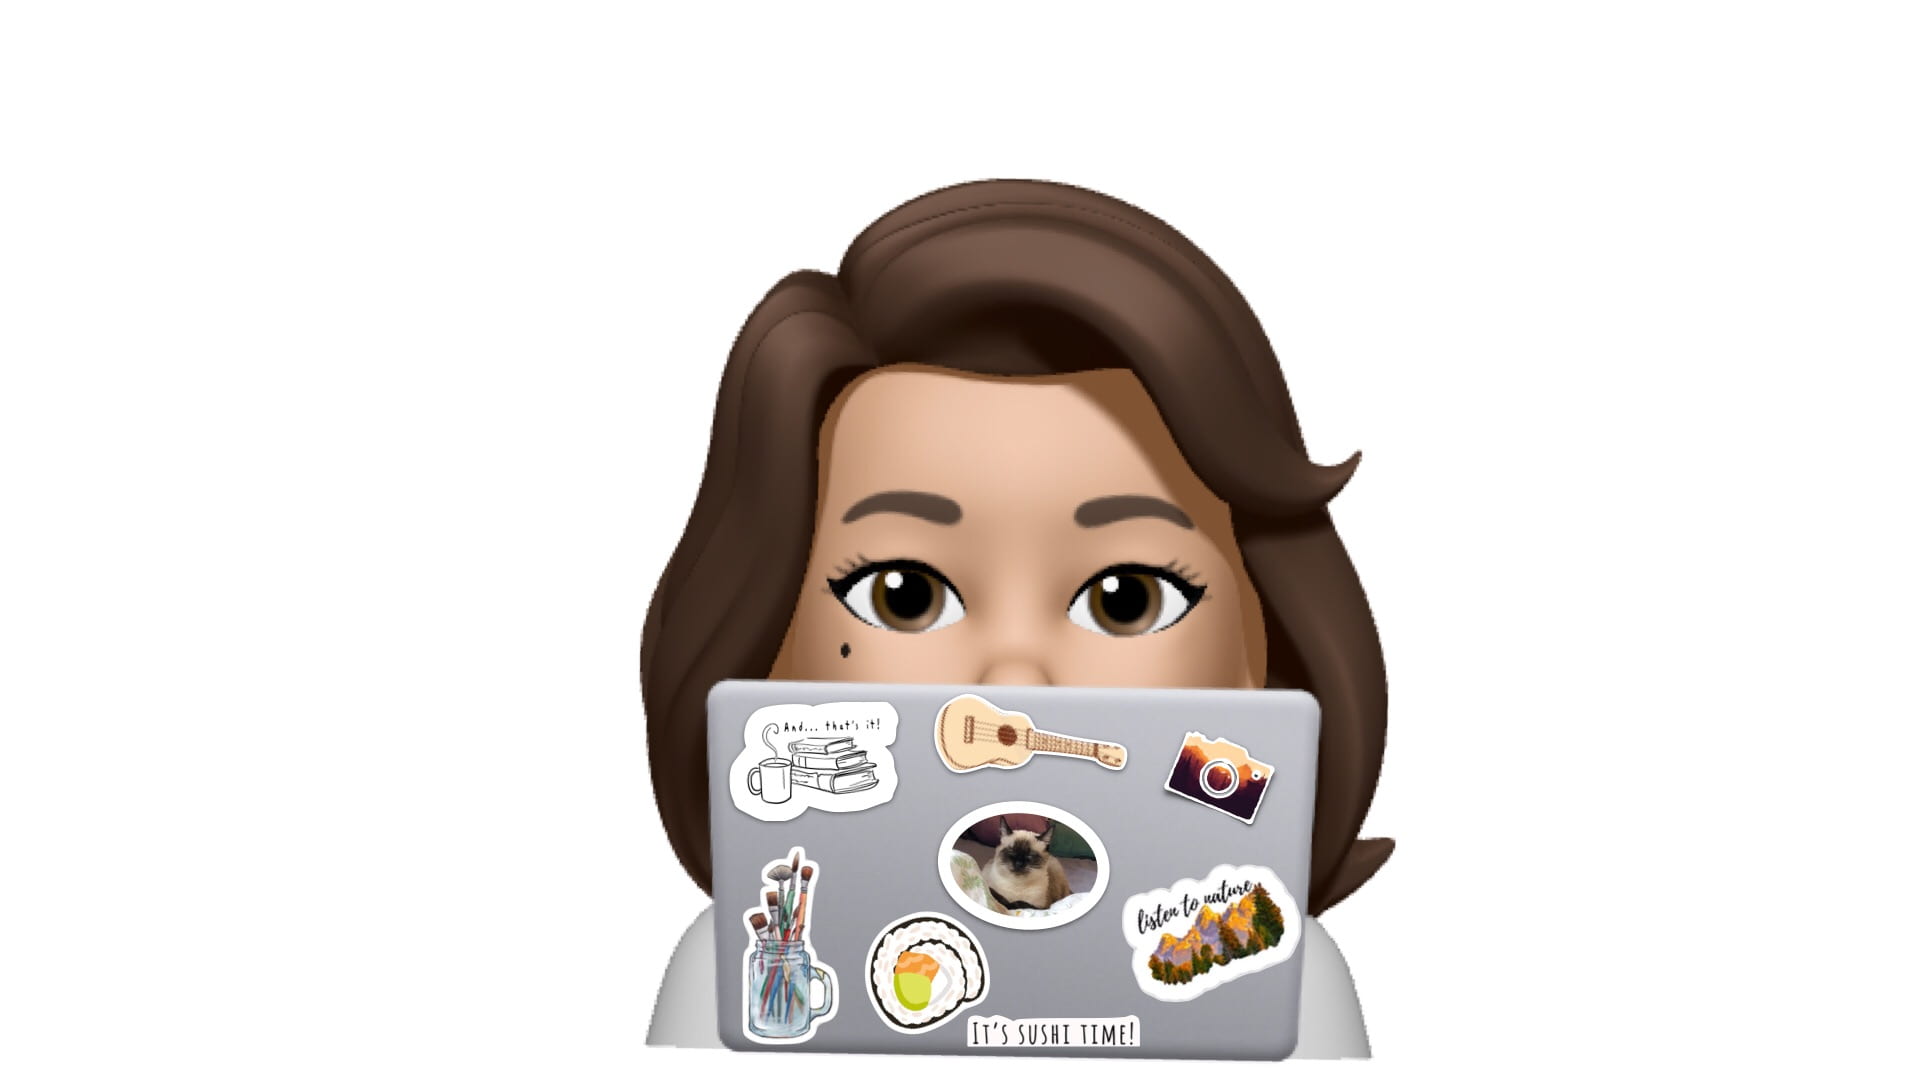
Then, we went to the fun part; our Memoji customization plan. We got to plan out what stickers we should put on our Memoji laptop, we learned to add specific details in each sticker, and explain why it should represent who we are.
⬇️here is how my Memoji customization plan looked like⬇️
Once are plan was completed we actually made our Memoji laptop. It was a long, tedious process, but was completely worth it. We got to add borders, play with sizes, colours, shadows, and learned about all the cool tools Keynote provides.
⬇️here is how my first Memoji laptop looked like, before critique⬇️
At this point, we were getting started on the main part of our project, as well as adding small final details on our Memoji laptop. We described ourselves as a character, and than started to type up our outline or rough draft of our User Manual. We got to personalize our own instruction sheet. I got to learn so much about my interests and who I was in general in this step, and was started to communicate it by typing it out.
⬇️Here is my Memoji laptop⬇️
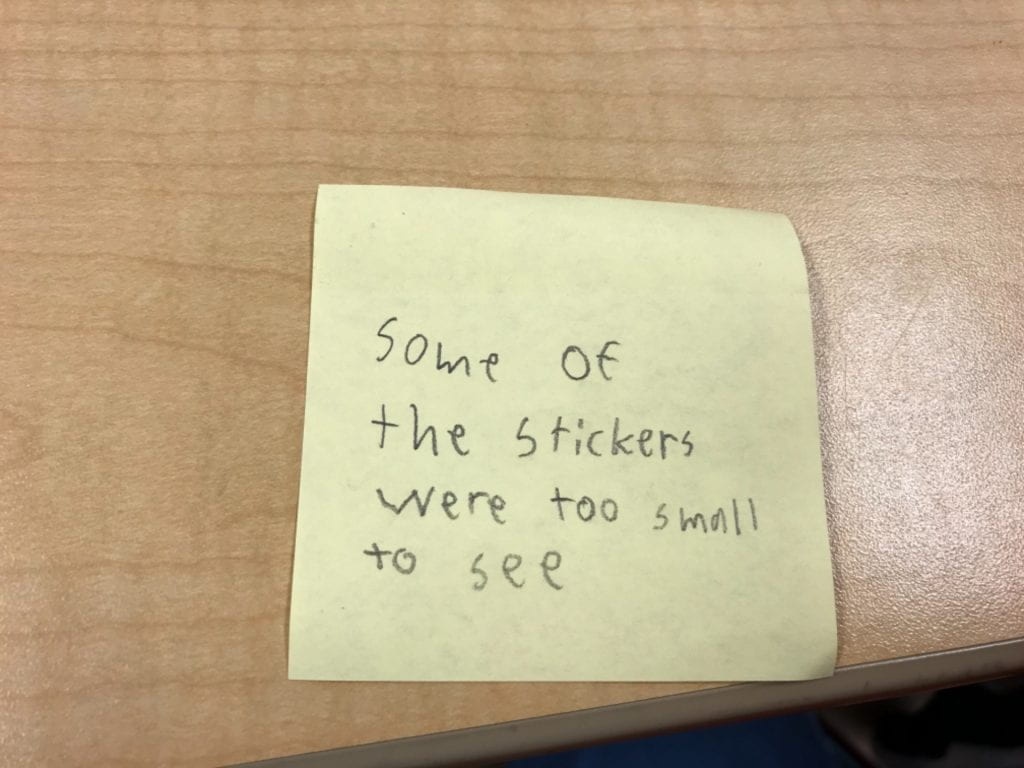
Once we had finished our Memoji sticker and outline of our manual, we went around and criticized and critiqued one another’s Memoji laptop, so we could make our final copy the best it could be! We than criticized one another’s user manual, and made our final copy.
⬇️here is a critique I received on my Memoji laptop⬇️
Our final step, was presenting it. We presented our user manual and Memoji laptop to 2 other people, and learned a lot about one another!
🌲⬇️here is the finished product; My User Manual!⬇️🌲
Teva’s user guide


October 21, 2020 at 3:09 pm
This looks like a good reflection on your learning Teva! I like your theme of the learning forest and adventuring through. I’d like to know more about how you presented it. Nice work!