As you can probably tell from the title, this project was one about atoms (and molecules, Kenetic energy, etc…). We spent about three weeks learning, coding and thinking to answer the driving question for this project: how can the behaviour of matter be explained by the Kinetic Molecular theory and the Atomic theory? So, without further ado, here is the post.
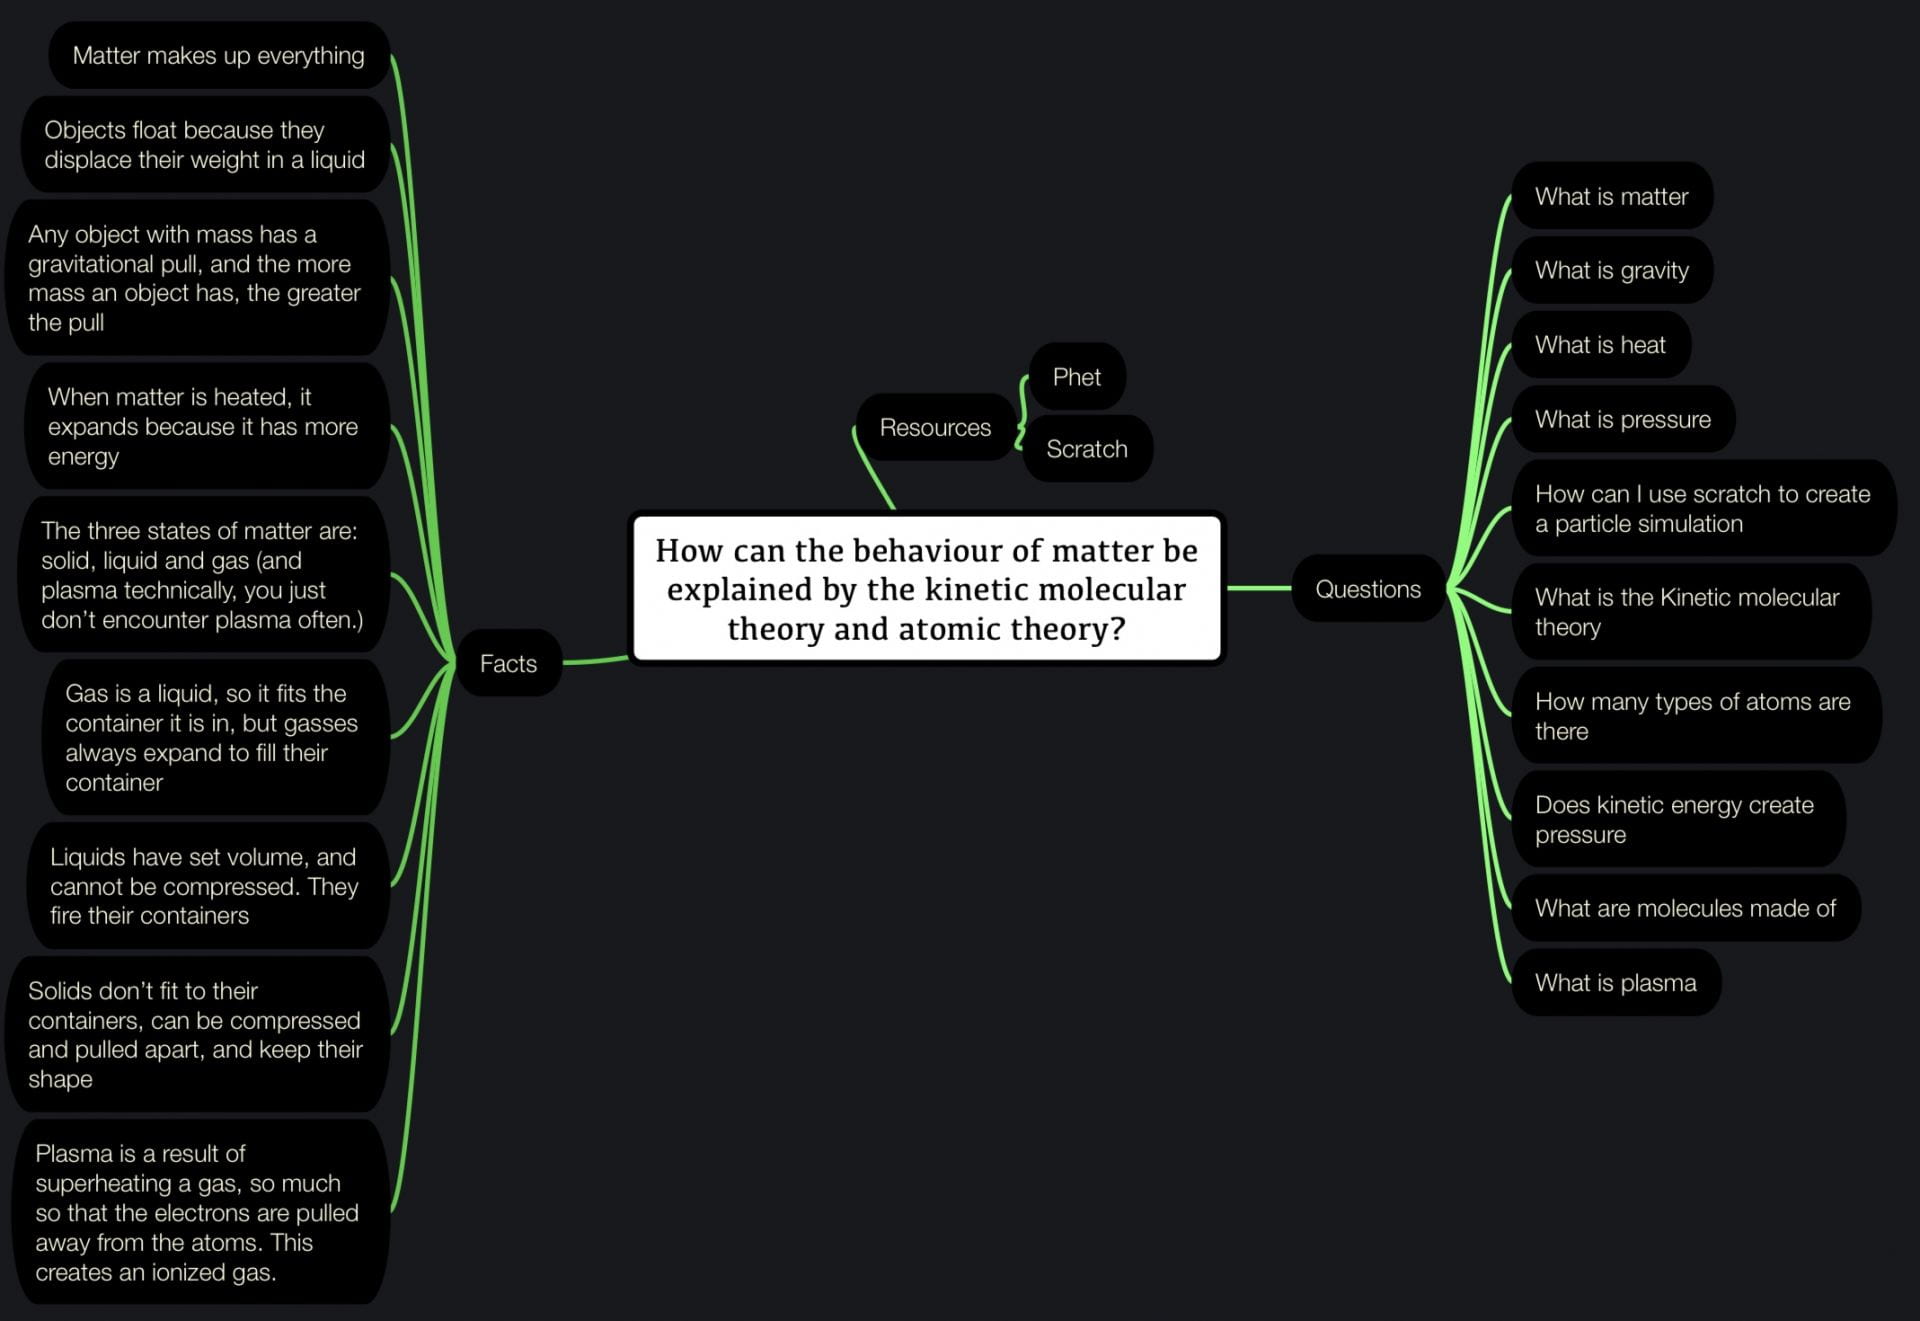
We started this project with a mind map and an experiment/magic trick. We wrote the mind map about what we already knew about matter, and then all of our questions about it.

For the demonstration of atomic and molecular theory, the teacher performed a trick using a sealed bottle filled with water and an eyedropper.
The trick works by utilizing pressure. When the bottle is not squeezed, it looks like this:

But when the bottle is squeezed, the pressure increases, forcing the eyedropper down, and if you are subtle, it looks as if you magically made the eyedropper go down.

One really cool activity was called the gemstone identification challenge. The whole class partnered up to measure the volume, weight, and then calculate the density of a few stones. The class average density was 3.74 grams per millemeter, and the closest density to that was that of colourless topaz, so we confirmed that the stones were colourless topaz.

For milestone 2, we created accurate models for our coded project. In order to make our simulations or games follow this competency: Several different atoms/molecules, different states of matter, and particle motion are represented in the finished product. A historical model of the atom is chosen and implemented, we created some sort of model and text.
In order to create realistic and functioning models of atoms, molecules, and in my case quarks, I worked on three slides of information and graphics. It took three other versions to create to the one shown below.
The next week was mostly spent learning more about matter and coding or refining our scratch projects. Then we did milestone four, which was a coding plan for the rest of the project. This was my milestone four coding plan:
Features:
Press space to show Bohr models
Press M to mute music
Press N to unmute music
Press Q to create more clones
Press 1-3 to change molecule type
Gravity that can be turned on and off
Click the reset button to reset the simulation
Use the temperature slider to change how fast the particles move.
Setting the temperature to zero will stop the particles from moving, other than gravity acting on them.
You can create different states of matter by adjusting the temperature and gravity.
you can adjust how much gravity there is.
You can move between subatomic particle models, Bohr models, and no models by pressing space bar twice This kinetic molecular theory is included in the simulation when the particles move. They follow the Kinetic molecular theory.
After creating a plan, I continued coding my scratch project until it was completely done and polished. If you want to check out my simulator, click here. After all was said and done, I created a summative mind map of the project, which helped round of the end of the project.
As with all projects, there were curricular competencies which you can see below:
Questioning and Predicting: Demonstrate a sustained curiosity about a scientific topic or problem of personal interest.
All class time is used efficiently for learning without distractions. I used all my class time efficiently, and I am very proud of my final product.
Scientific Communication: communicate ideas, findings, and solutions to problems using scientific language, representations, and digital technologies.
Several different atoms/ molecules, different states of matter, and particle motion are represented in the finished product. A historical model of the atom is chosen and implemented. I have three different molecule designs: H2O (water), carbon dioxide (CO2), and ozone (O3). I also have three Bohr models of the elements: carbon, hydrogen, and oxygen, And finally two subatomic models of protons and neutrons.
Reasoning and Analyzing: Use logic and patterns (including coding) to solve puzzles and play games.
An interactive Scratch coded matter simulator or game is created with logical conditions and functional user controls. I created a simulator with four variables that the player/user can change, and extra aesthetic changes as well. The user can change limits all the variables, and the layout is logical and easy to use.
Thanks for reading my post! I had a great time doing this project, and i am sure to do more, so stay tuned .Even though I have featured it already, just in case, here is the link to my scratch matter simulator. Thanks to my friend Noah for all the coding help and feedback. If you want to check out his blog, click here. See you in the next post!


