Going to DISNEY WORLD??!?!?!!

Ever heard of Walt Disney? Or just Disney in general? Me too. Let me tell you about this project that we just did on Disney world. 

The Beginning 

We learned about Disney’s history, how Walt Disney came to create the whole franchise, and how his vision is being lived out today. To capture and sort out of of this new knowledge, we each started a PKM (personal knowledge management) system. My PKM consists of fleeting notes and summaries that I wrote about all of the different texts we viewed to help us understand Disney. You can find those at the top of the page on this link here.

Driving Question + Project

How do Disney theme parks shape and influence the cultural, economic, psychological, and social experiences of visitors?

Once we had gathered some basic knowledge on the origins of Disney itself, we started looking at answering the driving question. To help us solve the question and create the final product, we were sorted into groups focusing on different topics. My group was focusing on “the magic of Disney entertainment” and how the magic relates to the answer to the driving question. We then proceeded to do some research on our specific topics and put them into our PKMs, mine are at the bottom of the page here. 

The product of this project is a video answering the driving question that we made with our groups while in Disney World. So as with any project that involves a video, there was a lot of story boarding, scripting, and call sheets to fill out. We split all these tasks up within the group so that we could divide and conquer but still all be involved with what is going on. We also decided that we all would have to record a voiceover for the final video so that we could all be represented in the final product.

And then the real test finally came, the trip to Disney World.

The trip got off to a rough start with out flights being delayed by a few days but eventually we lifted off from YVR and set sail for Florida. There was a lot of filming to do throughout the week because we also had to do filming for our maker project that I just did a blog post on here. Overall I think we were not as organized as we should have been when we were filming in Florida and it shows in our final video, especially as we start out the video with Sepaus filming the intro in the hotel bathroom. 

The Video 

I now present to you, the magic of Disney and how we answered the driving question;

Our video could have been way more succinct and we definitely didn’t need that much information on the history of Disney, but eventually we did get to the point and answer the driving question. Disney brings nostalgia for America’s past, utopian fantasies of the future, and their world-building stories to life in their immersive performances, character interactions, and parades using highly trained cast members, themed costumes and sets, and engaging light and music.

Conclusion

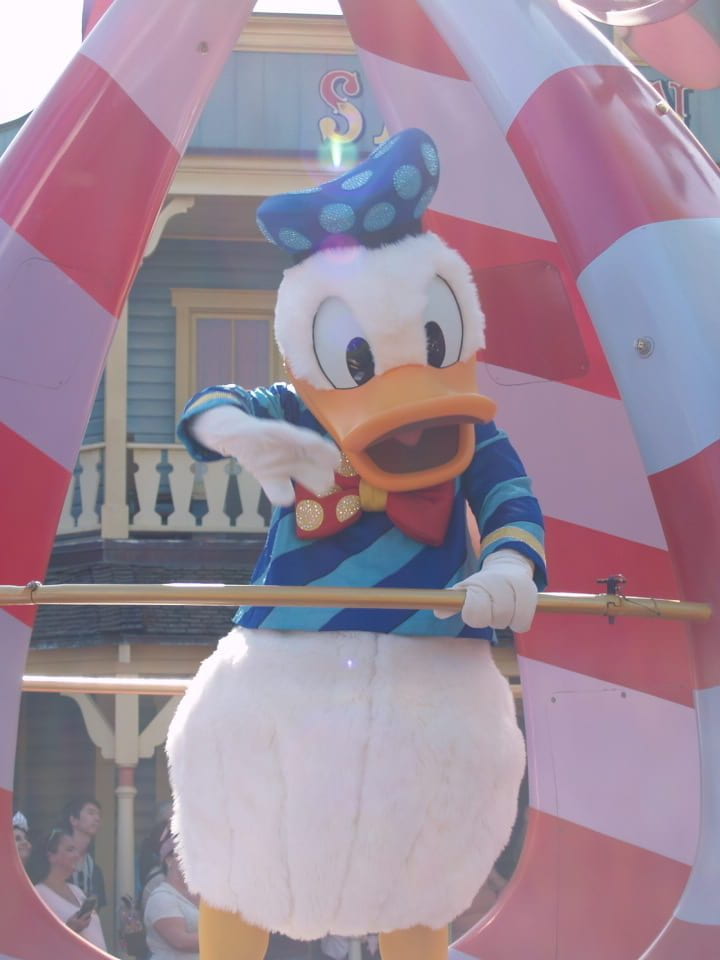
Obviously it was really awesome to be able to go to Disney world for this project and this is definitely one of the best trips I’ve ever been on. I think my group did a pretty good job with our video and everything that led up to it. I’ll leave you here with some photos that I took during the trip, see you next time!

As Always, Brooke.

I’ve gone viral

Hellloooooo and welcome back to another blog post by Brooke. For this project I had to get into the mind of a professional tiktok star and create some trendy videos that I’m sure will revolutionize your view of trends in the media and Disney world. Well just kidding I don’t think my videos will revolutionize anything but I hope they are still enjoyable. I know this all may sound a little different, so lets jump into why I had to make tiktok videos for a school project.

Driving Question

How do I make effective personal design choices??????

I make effective design choices by staying organized and planning things out. And I hope the rest of this post reflects that 😁.

The Project + Trip

So before we even stepped in to beginning to make our trend videos, we did some much needed personal productivity management. This included organizing our calendars, email inboxes, and most of all, our Things app. I have always been pretty good at keeping my unread emails at 0 and keeping my things to-do’s organized and functional, so this part of the project was pretty easy for me. But it was important that we got a refresher on how to be responsible for our own tasks because we would need to be able to stay on top of our filming when we had our limited time at the Disney parks. We then started researching popular video trends and looking at how we could make our own videos for the trends. Once we decided what types of videos we wanted to do, we then storyboarded and drafted 5 videos that we planned to make during our trip to Disney World. You can find all of my research and drafting in this link to my video research craft document. Once all of this was done we set sail for Florida.

The Videos

Now unfortunately one of my videos was mainly depending on Minnie’s Beach Bash, a breakfast with some of the characters. I was planning to do a character fit check video because I would have had a bit more time to do so at the bash then at the regular character meet & greets. But unfortunately by the time the teachers made the pivot to not have us go to the beach bash breakfast, I became very sick and was not able to go to the last park day where I could have filmed a replacement fit check.

But regardless, I finished 4 videos and I am quite proud of them. Here you can follow the link to see the completed version of all 4 of my videos.

Although some of my videos did not turn out exactly like I had planned, I still think most of them are enjoyable. I think I forgot about the “Filming Borzoi Shaped Things” until it was too late to grab any more interesting footage. It was a it harder to find those shapes than I originally thought 😅.  But still I got 4 out of 5 pre-planned videos complete and I think that is pretty good.

Conclusion

Overall I preformed quite well in this project. I definitely could have done a better job especially at executing the final videos, but my planning was thorough and did my best to stay organized. Disney was also a blast so I think this was a pretty fun project. Anyhoo thanks for reading!

As Always, Brooke.

Spring Has Sprung – Gardens and Exhibitions

Hello party people and welcome back to my Learning Portfolio, or simply, my blog. The year is almost at an end and that means that a lot of these posts are going to be coming out at once so don’t forget to check out my other posts as well! So here is the summative post for my last grade 9 maker project, “Your First Film”

Project  Overview

You may remember that I recently did another project with videos called “VIBRANT VIDEO POST”, and I would say that this project was basically the final product of that project. This project was all about using all of the video skills that we’ve gained top make one final video, a documentary with a topic of our choosing. The documentary had to include an interview, storyline, message, and original music. At first I had no clue what I wanted to do my documentary on, and after a few ideas I landed on a general topic of “gardening”. You see, a few days ago I moved into an apartment and I really want to grow a little garden on our balcony. Originally, I was going to focus the doc on my journey of planting a potato, but as I got to filming I realized that my original idea may have been too “vlog like” and that I could use the influence of my interviews to guide the story instead. This project was also going to be the grade 9’s focus for showcasing at the spring exhibition. Now unfortunately I was sick so I wasn’t able to be at the exhibition this year, but I’ll talk more about that later.

Driving question 

How can I engage and entertain an audience using my video and storytelling skills?

By using all of the skills that I have learned about making videos, I can create something that is of good quality and interesting to the viewers. A well written logline and treatment indices the viewer and can help get your video to the right audience. Hopefully as I explain a bit of the project, you will be able to see how I was able to use my video and storytelling skills to engage and entertain my audience.

The Documentary 

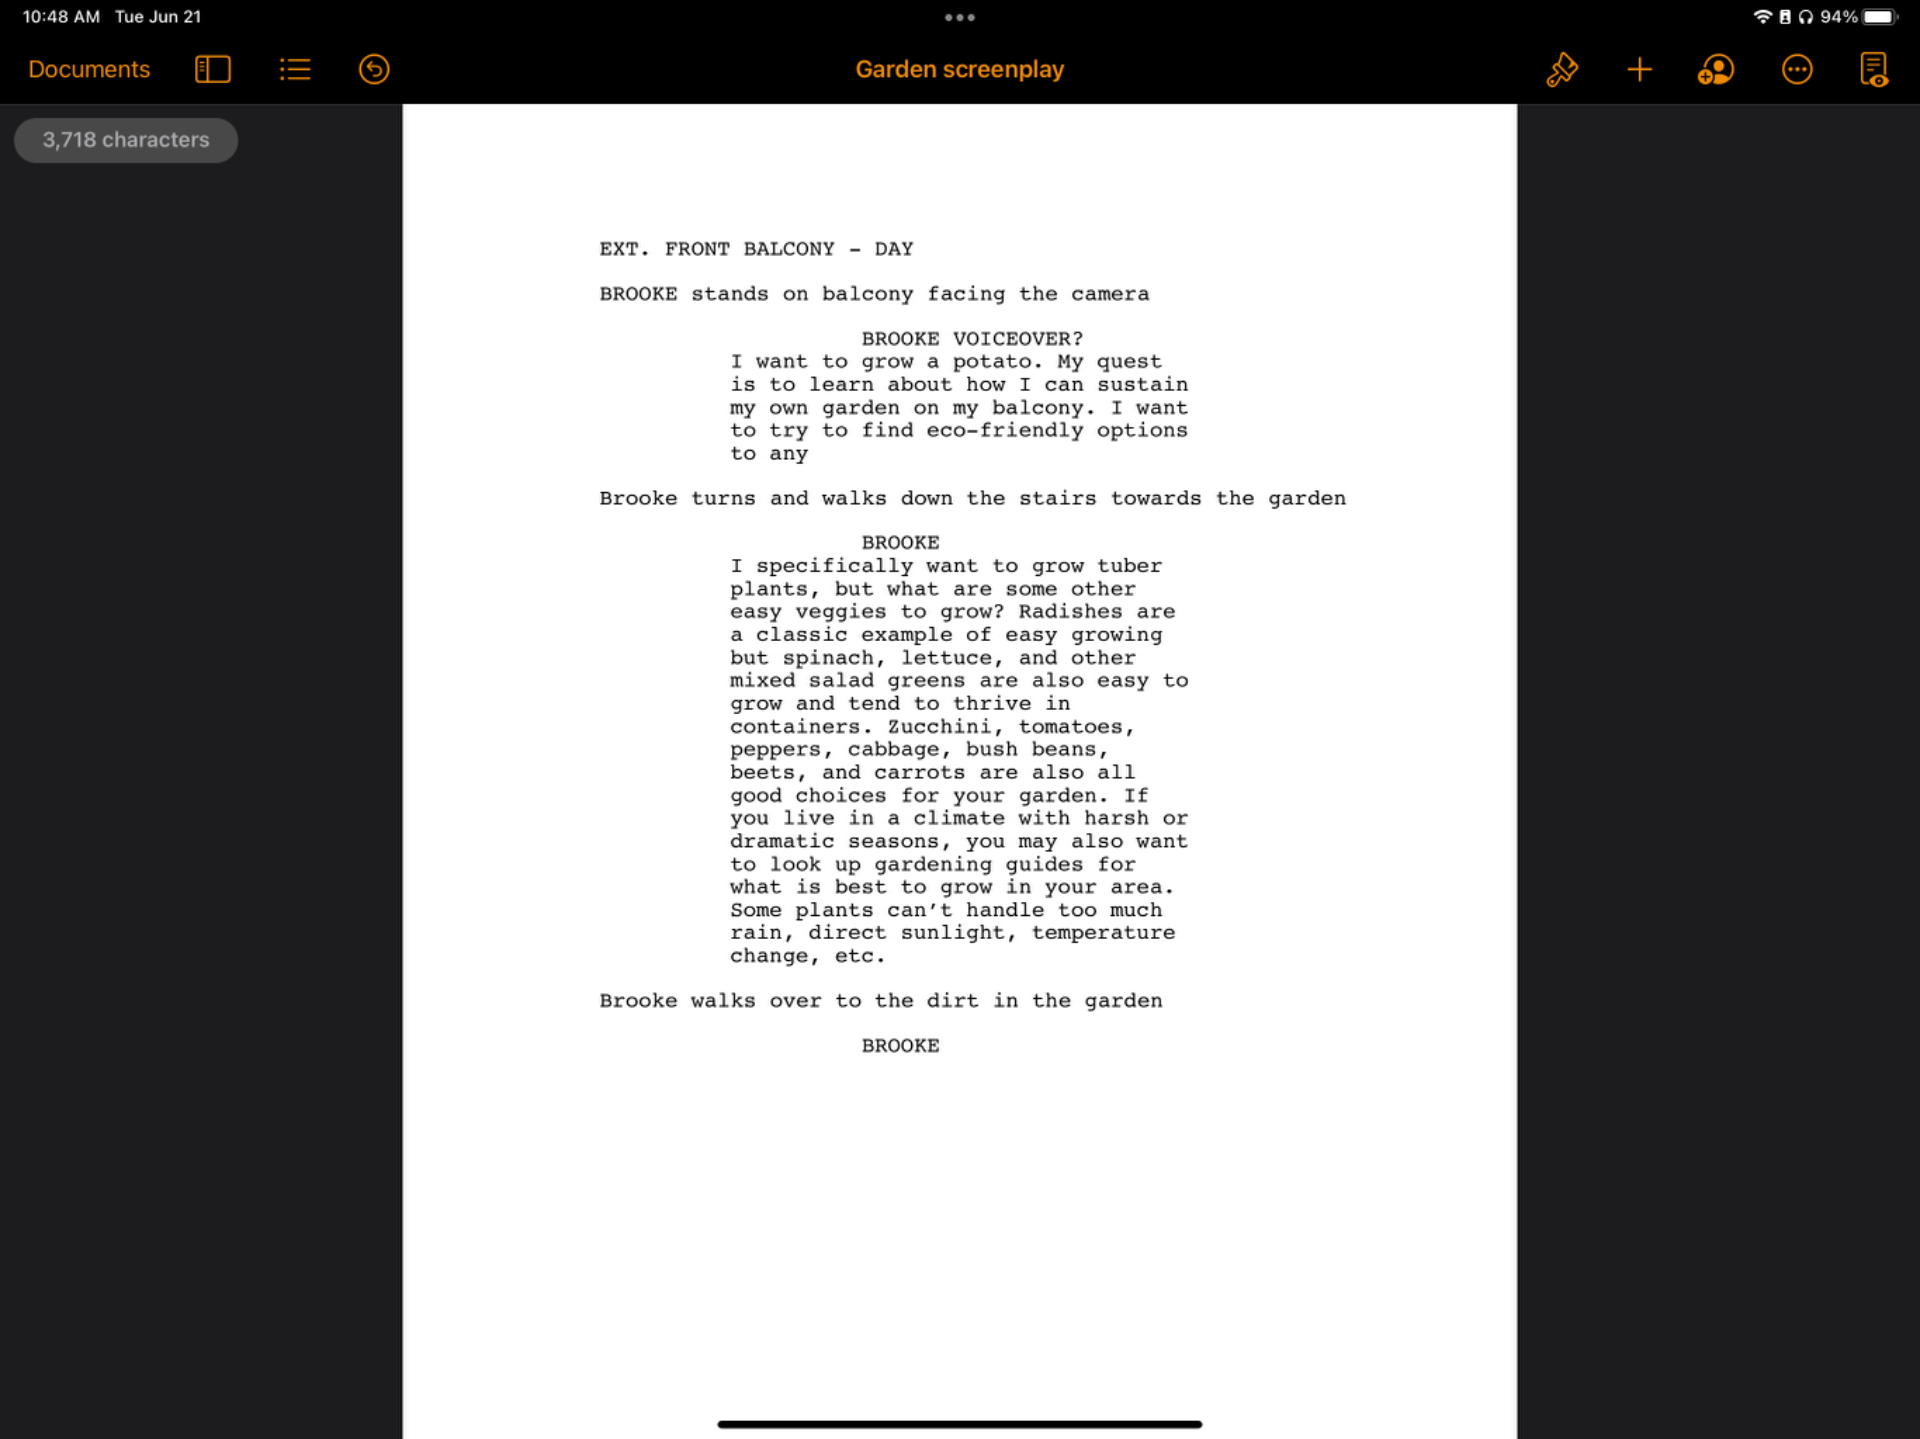
As I mentioned briefly in the driving question, we created loglines and treatments for our documentaries. A treatment is a short summary of your documentary, and a logline is a few sentences that you would put in the description or be the tagline of a movie trailer. This helped us start to envision a storyline to create a structure for our documentary. Then we created a screenplay. A screenplay is a written view of what you will see and hear in the film, who will be in each scene, where things take place, etc. My documentary ended up being quite different from my original screenplay, you will probably be able to tell later on when you finally get to see my doc.


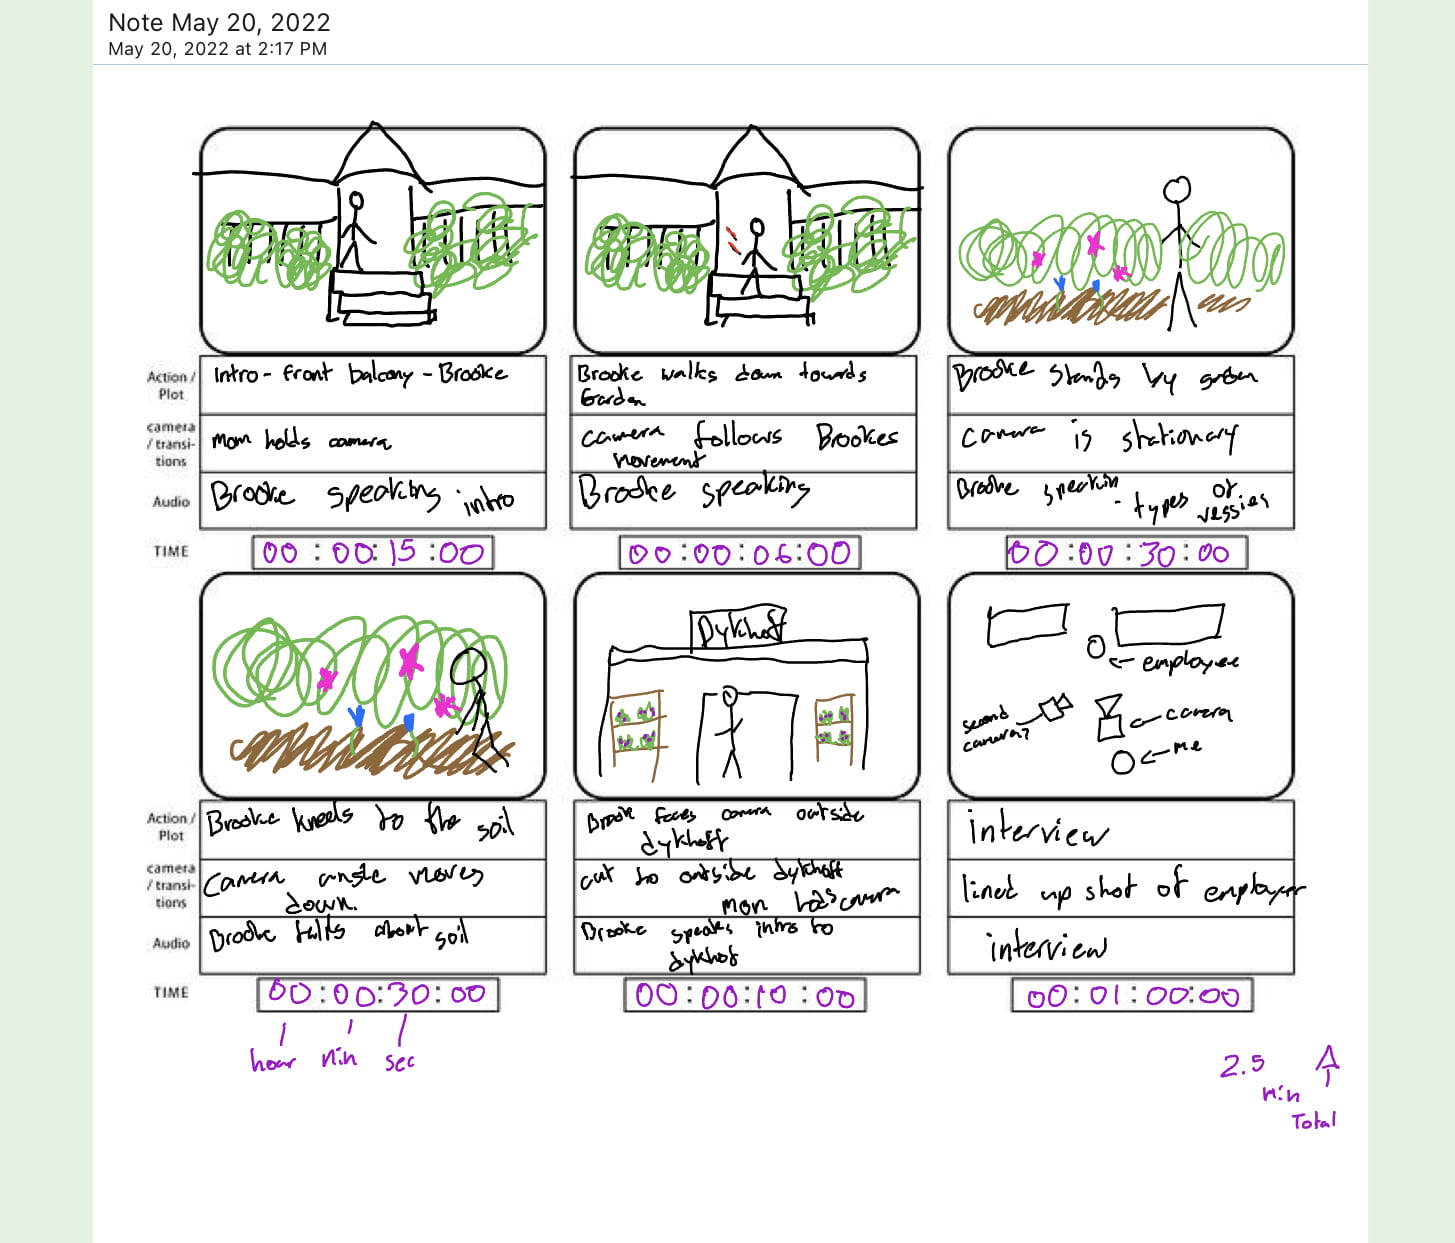
Next, step we created the storyboard. A storyboard is basically the screenplay but in drawings.

Then we had a whole butt ton of filming to do. I went through quite the roller coaster of trying to find a person to interview, but in the end I managed to have a great interview with Alex Johnson, the assistant manager at my local Gardenworks. We also had to create original music using GarageBand and I found it quite tedious but fun. And of course will al of the filming, there came even more editing. The editing was soooooo meticulous but it is a really improvement part of creating a good film. And then Ta Daaa! Documentary finished. I am super proud of the final result for this project, as it is the last maker project of my grade 9 year. 

Exhibition 

So as I already stated, I didn’t actually end up going to the exhibition but I will talk about the part of the process that I was a part of. Exhibitions are a chance for every grade to tell a story and answer a question, while using their work to enhance and show as an example. The grade 8s+9s worked together to tell the story of “What Does It Mean To Be A PLP Learner?” Throughout the first part of the school, and then guests would walk to the gym to see the main event of the 10/11/12s. I was part of the the conclusion of our section, where our driving question was “What is a PLP learner?”. We decided that a PLP learner was hardworking, creative, thoughtful, collaborative, and detailed. 

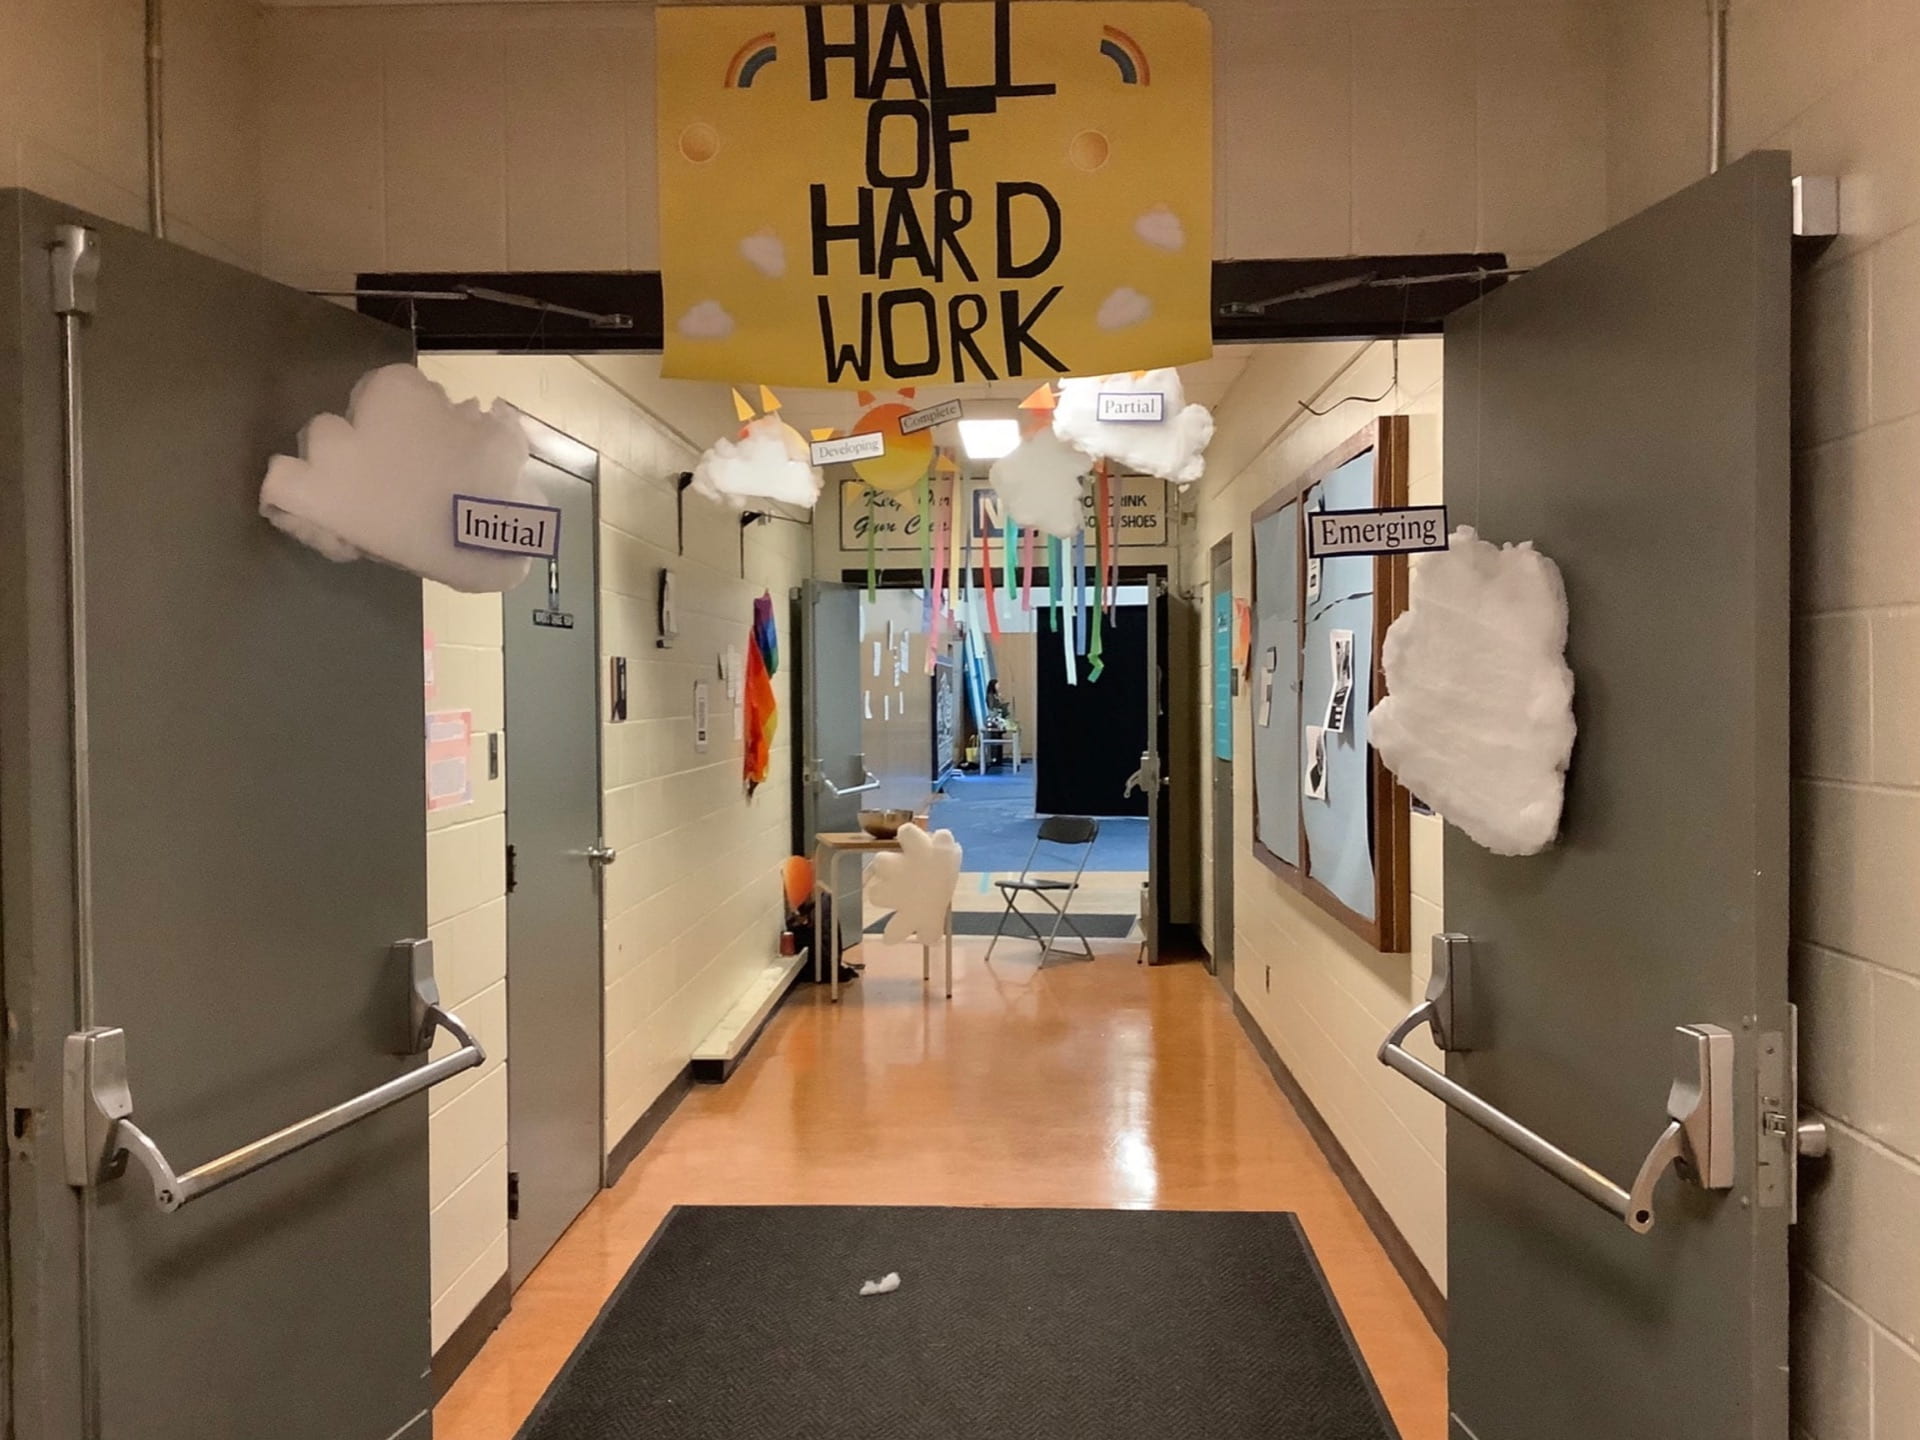
It was our job to design the layout of our section and make all of the decor that we would need. It was a lot of work to design everything and create something visually appealing. We were also given a group of grade 8s to help us at the exhibition and give them a chance to display their work as well. Most of the work was put into the “Hall of Hard work”, where we tried to show the process of developing work to extending quality work.

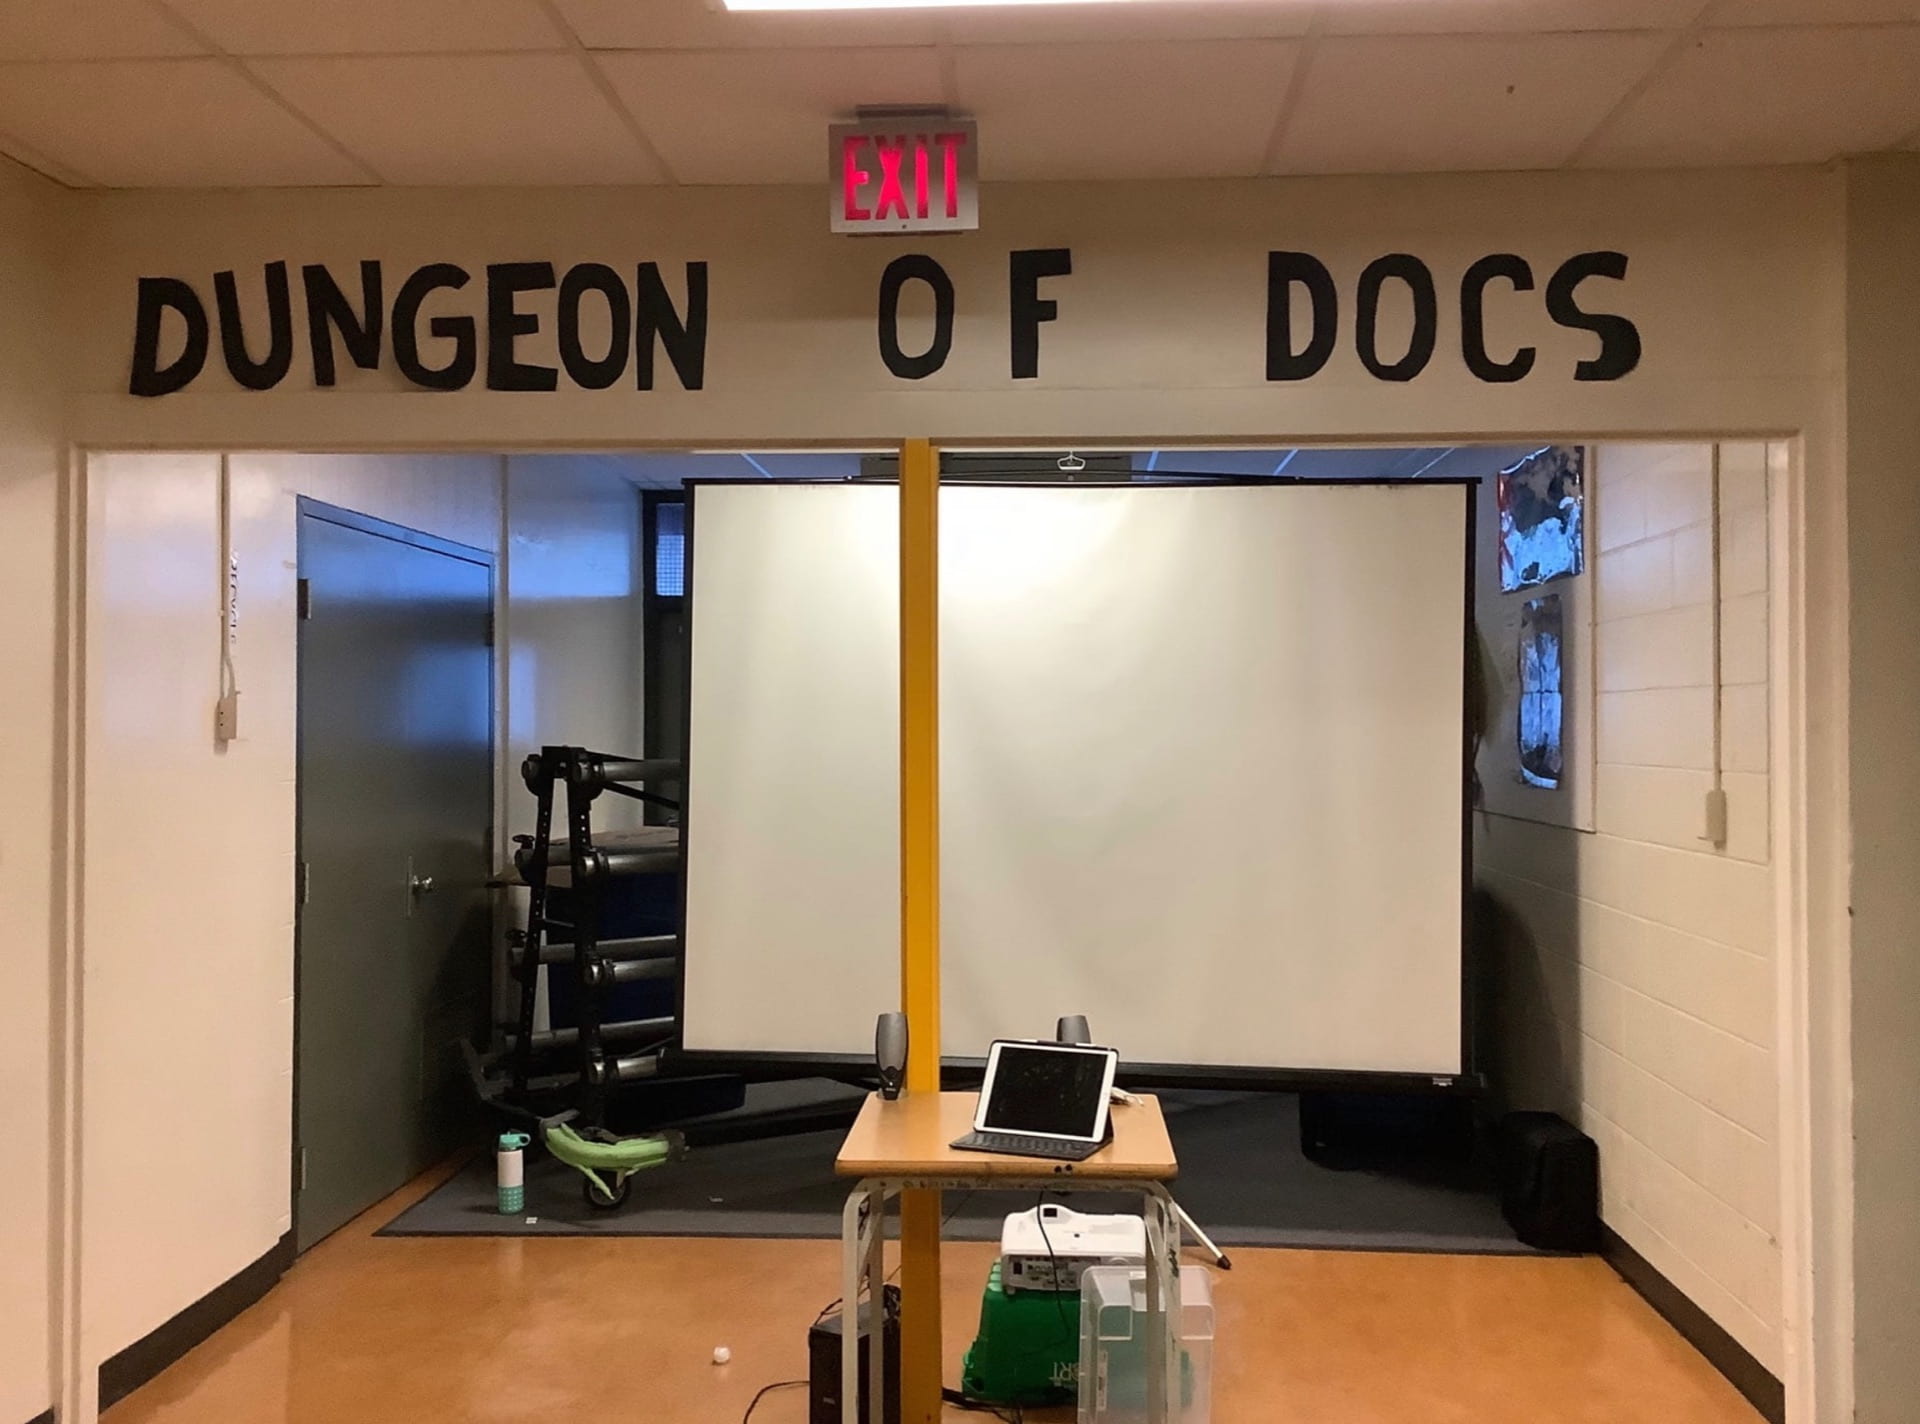
Our group’s documentaries were displayed on a projector in our “Dungeon of Docs”. And I am quite disappointed that I wasn’t there to see all of the masterpieces.

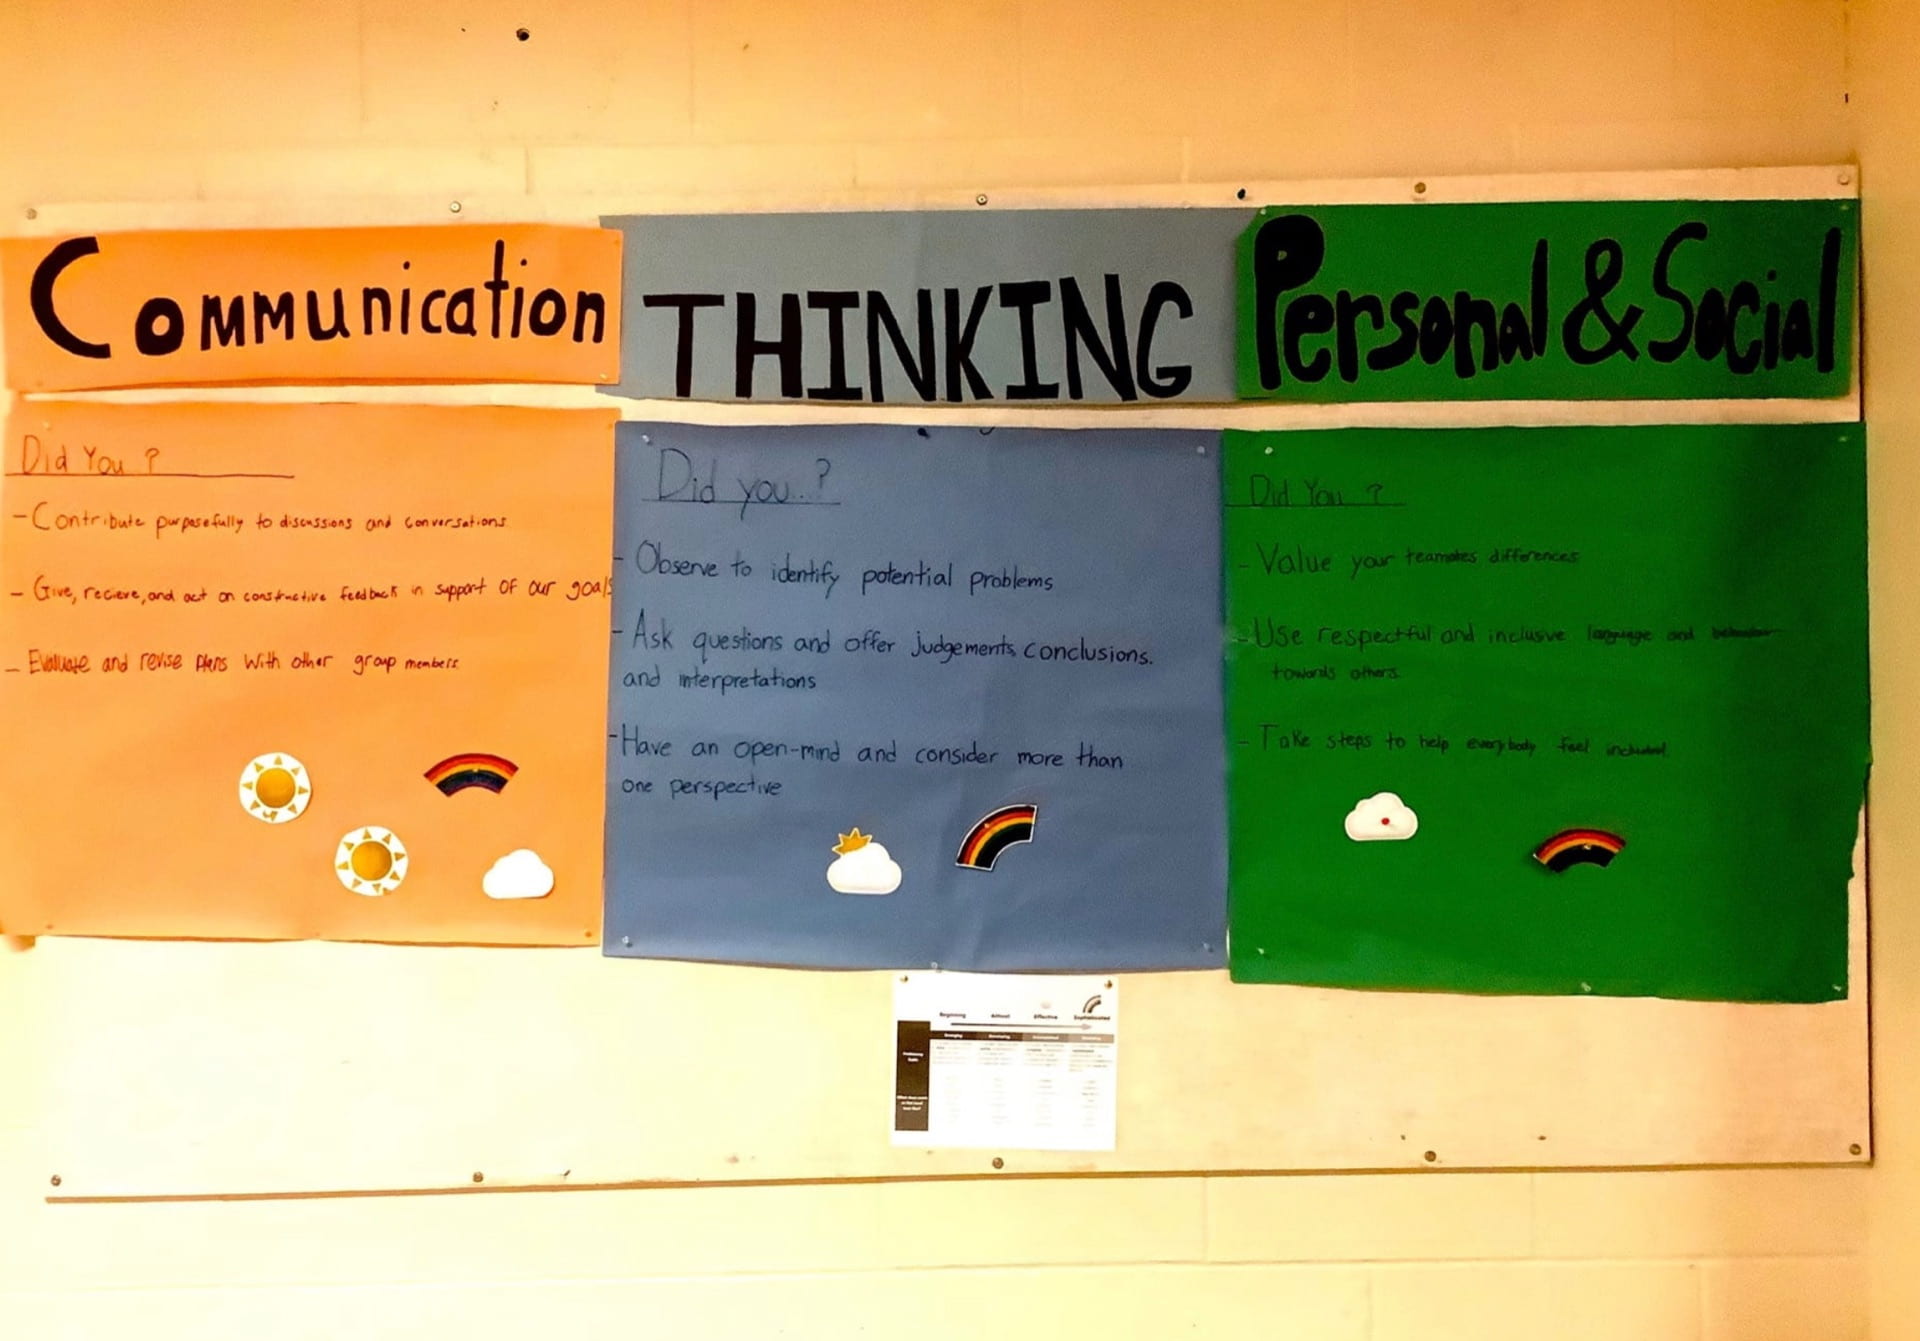
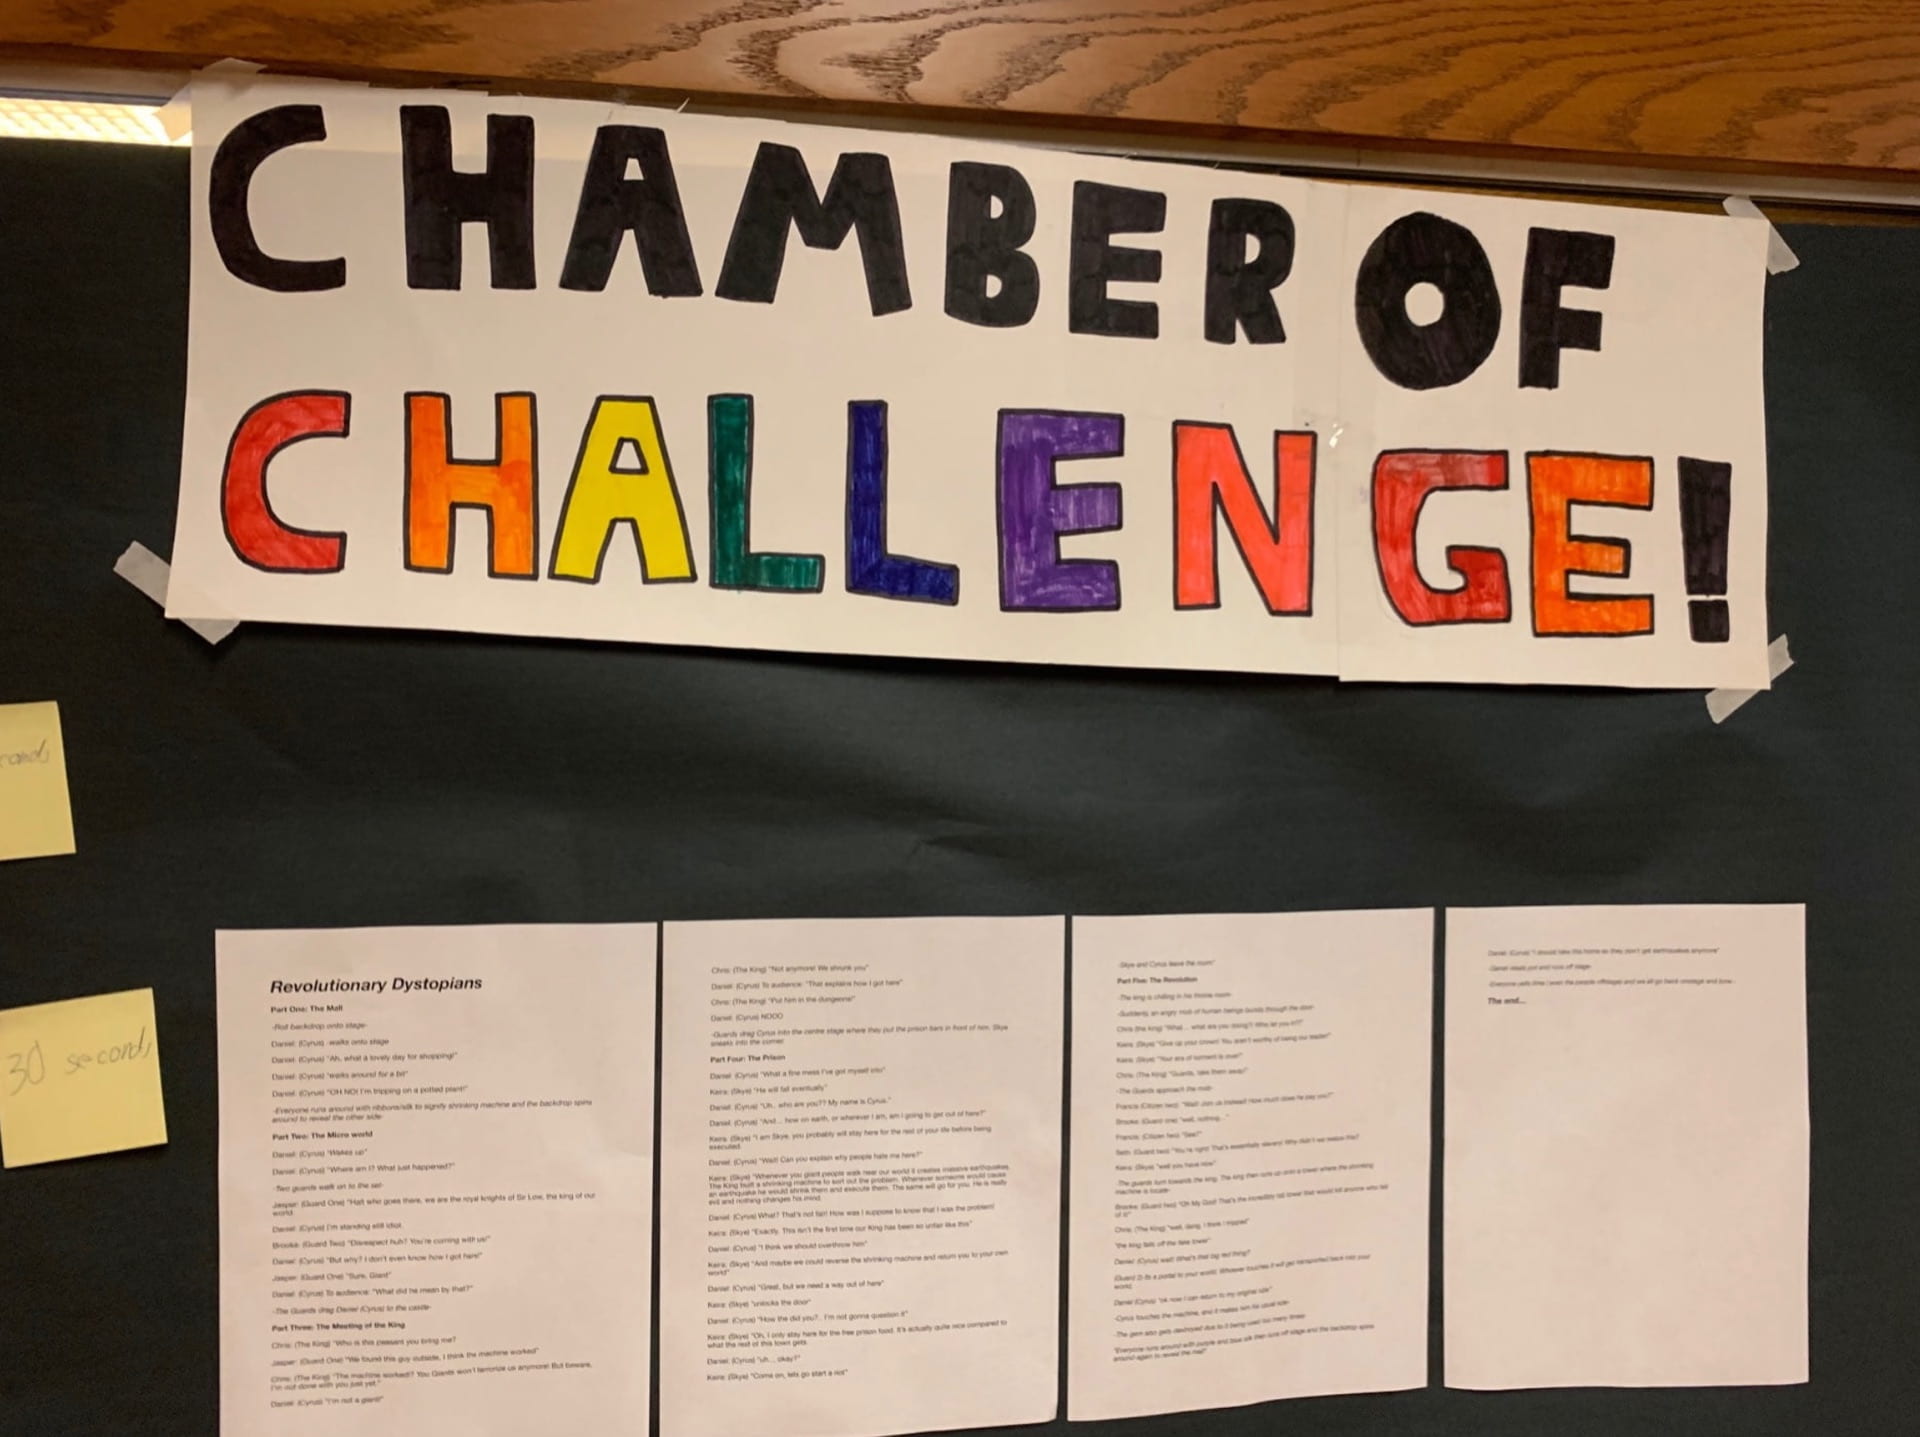
We also were running some instant challenges and getting the guests to self-asses on how they preformed. As any good PLP student knows, we don’t learn from experience, we learn from reflection. Self-assessment is heavily incorporated in PLP’s structure so we thought that it was a perfect showcase of what its like to be a PLP student.


And that’s it for my section of the 2022 spring exhibition!

Conclusion

So this will be my last blog post of the year. Wow. If you’ve made it this far I really want to thank you for taking the time to read these because it takes a lot personally for me to write a whole post. I’m so proud of myself and all of my classmates for making it through this year, we did it guys! Anyhoo cya in September!

Thanks for reading!

As always, Brooke.

The Vibrance of Video

It is time for another Maker blog post. So welcome back to this blog of mine where I explain things I did in school. This project was called Vibrant Video and it was all about making videos and learning film history. This was not a very long project so this post may be rather short. But in the end its not about the length of the post is it. So I hope you enjoy and lets get right on into it.

The History of Video 

There is a lot to learn about the evolution of film and movies. We learned about the first moving images and the beginning of the film industry, which I found to be quite the interesting topic. We also learned about early special effects and how they added colour to film. I got to practice using my note taking skills in a keynote doc and I must say that I got pretty good at it. 

Videos

We of course got to practice making videos/movies in this project, with each video focusing on a different aspect of film making. We learned how to use all of the features of iMovie and Clips and how to use a storyboard, logline, and treatment. 

Our first video was a story about one of our favourite hobbies. It was supposed to show a blend of pictures and videos, have a complementary soundtrack, and have a beginning, middle and end. Here is the video I made;

The next video was a silent movie. It again was supposed to tell a story, use the “GASP” poster, aged film effect, and again have an appropriate soundtrack. I told the short story of a girl on an egg hunt and I think it was pretty good. Here is my silent movie;

Our next 2 skills were going to be creating a DIY video showing the audience how to do something. We had to create a treatment and logline for the first time and we were also in groups. My group wanted to show how to tie your shoes and I think that our treatment and logline are quite comical. 

——————————————

Logline

Are you still a loser and still wearing Velcro shoes? Well worry no more because in this tutorial you will learn from professional shoe tie-rs on the best methods to tie your shoes.

Treatments

At the beginning of our journey a young fellow does not know how to tie his shoes. But then helpful professionals come along and show him the proper method of tying his shoe. In this helpful tutorial you will see the many different methods of tying one’s shoe in a proper manner including the bunny ears method and others.

——————————————

And here is our video;

Our last video and skill was creating a special effects sequence, again in a group. This was a really fun one to watch all of the videos created because it was a chance to get really silly and stupid. Before we recorded we had to create a shot list so that we could know what we needed to record. We also got to use the green screen and that was super cool. Here is the final video that we called “Fish Boy is Born”;

Challenges

We also had to do at least 2 of the 5 video challenges that were given to us. I chose to so the “Add a Song” and “Playing With Angles” challenges. If you didn’t get it already, the “Add a Song” challenge is where you add a song over a video in a way that they sync up and relate to each other. I chose to use a video that I put on my Instagram that was my friend and I running around an arena on a Timelapse to that really annoying hamster song. And I collaborated with my friends Noah and Cooper to create the “playing with angles” videos. It was pretty fun. Here are those videos;

Angle 1 Angle 2 Angle 3

Conclusion 

So I definitely learned a lot about the history behind videos. I think that it is really cool to learn about the behind the scenes of how movies are made and am now able to identify different techniques and shot types when I watch movies at home. I actually went to see a movie with Dana on the weekend and we were having some annoying fun naming all the different shot types in the commercials. I definitely can use iMovie and clips to their full potential now that I’ve learned all of the tips and tricks. The next video I make will take full advantage of the special effects and transitions that I can now use confidently. So yeah I think I am a professional movie maker :).

As always, Brooke.

THE MACHINE

Salut mes amis! Welcome to another scimatics post on this bland blog of mine. I have a few blog posts I have to write at the moment so I’m not going to drone on and on with this intro so lets just hop right on into the project.

Project Overview

This project was called “Metaphor Machines” and in this project we were to create a Rube Goldberg machine that represented the steps of the scientific method. We would be using big wooden boards as the base and then we could use any materials to build the pathways. We then recorded the machine working and added voiceovers to explain the scientific method and our representations of it in the machine. Then the final video would be presented to the class.

Project Start Mind Map

As per usual we started the scimatics project off with a project start mind map. I put in any questions I had for the project, what I already knew about electricity and the project, and all of the questions from the QFTs.

At the end of this project we also added to the mind map a section about what we learned from this project and I also answered as many questions as possible that I came up with at the beginning of the project. 

The Project

We did a fun little experiment where we got to test out making and measuring different types of electric circuits up close and personal and in a simulator online. We worked with making a lot of electric circuits in  this project and it is something that I would say I can do confidently now.


We also did quite the bulk of workbook pages to further learn about electricity in all of its wonderful ways. We also learned about the math that can help you find out the current, voltage, and resistance of a circuit. 

We built our first Rube Goldberg machine in the very first class. We used things from around the class to crate a machine that has as many interactions as possible. And I think it was a bit rough but good for our first try.

And a lot of class time went into building our final machine. We each created blueprints individually and then got together in our groups to create one awesome blueprint that our machine will look like. The final machine had to have both parallel and series circuits and we even created switches to turn those circuits on and off independently but only one switch actually ended up working in the end. Ok so here is our final video that was shown to the class

Driving Question

How can we represent the scientific method? 

I have to say that the best answer to this question would be the machine video itself as it shows the representation and definition for the scientific method.

What factors affect the function and efficiency of electric circuits?

Resistance diminishes the current of the circuit. Examples of resistance would be loads (lightbulbs, appliances, etc.) and wires. The voltage also affects how much power is going through the circuit at a time. This can overload loads and cause failure or burnout of the circuit. To much voltage is also dangerous.

Curricular Competencies

Reasoning and Analyzing: Estimate reasonably

Our final blueprint was complete and accurate. It also contained a grid scale. All of measurements are labeled and relatively accurate. It was clean and organized with all lines easily distinguishable.

Questioning and Predicting: Demonstrate a sustained intellectual curiosity about a scientific topic or problem of personal interest

 I used all of my class time efficiently for learning without distractions. I was a team player and always able to help out my group members.

Planning and conducting: Select and use appropriate equipment, including digital technologies, to systematically and accurately collect and record data

Hand built series and parallel circuits are used to good effect with efficiency in your metaphor machine. Accurate circuit diagrams are included in the final blueprint. Our diagrams use proper symbols and are neat and easy to understand. Measurements of current, voltage and resistance are included.

Scientific Communication: Formulate physical or mental models to describe a phenomenon

A video is recorded of the complete operation of the machine and voice overs are added which explain the sequence of the scientific method as the machine progresses.

Conclusion

So this project definitely expanded my knowledge of electricity and the different things that can affect it. In conclusion this project was quite cool and I think that I did a pretty good job overall. Also shout out to Walter the emotional support kangaroo-

Thanks for reading!

As always, Brooke.