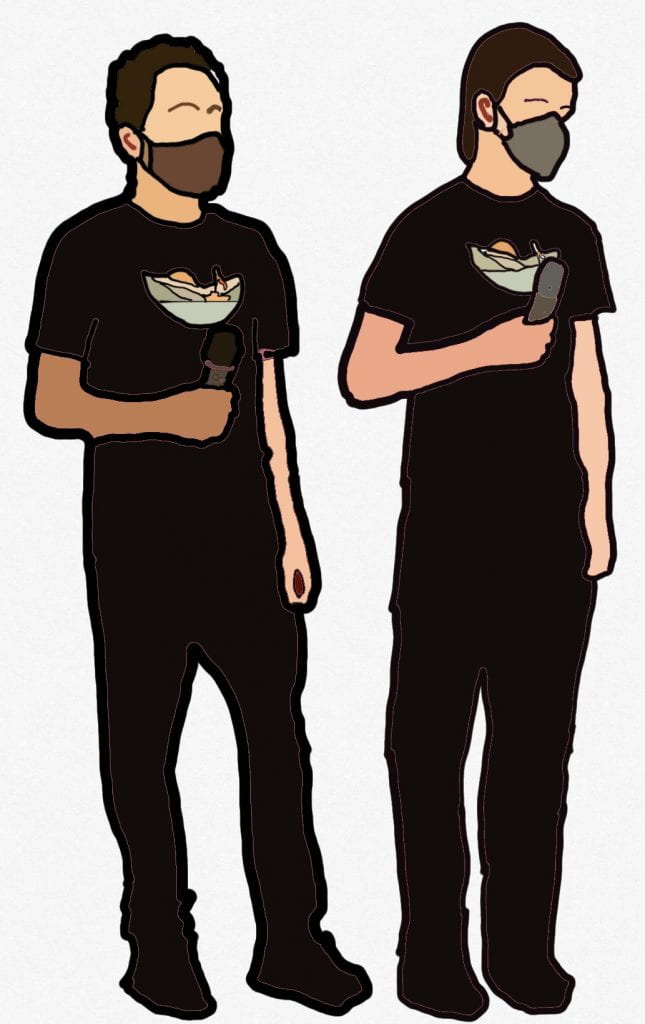
The Seycove choir performance was a big step in my musical career. I practiced and practiced until I finally got all the words right and mastered the key. That is why I chose to outline this photo.
Stage 1: Outlining
 For the first step, I spent my time carefully tracing the outline of the photo that matched the picture behind it (thank god for layers ?). The only problem I ran into was tracing the other person’s (Dara’s) feet, since they were blocked by the person sitting in front of the camera. That is why they may look wonky and disproportionate.
Step 2: Details

(Photo above depicts the outline comparison that I used, photo below depicts the side-by-side technique I used to get the right colours [more on that at the end of step] for filling the logo in)
I noticed that my drawing was looking a bit plain, so I decided to add some more details from the photo to make it look more interesting. This is also where I first decided to start colouring. As you can see below, I used a side-by-side comparison to eye drop the right colours I needed. I did this by grabbing the shirt from my closet and taking a photo of it in-app (Sketches Pro).

Step 3: Colouring

This was by far the most fun AND challenging part of the step-by-step process because the fill tool disliked me a lot. I had to change the outline to a different colour as to not confuse the fill tool. I used the same technique as in step 2 to get the colours right. Another reason that this was hard was because some of the smaller details, like the eyebrows and inner ear were to close to the outline, so every time I tried to change the inner details, it would change the outline too. I eventually just drew in the colours I wanted instead. I also had trouble with the smaller areas because they were so small that they would just merge with the outline and not fill the whole thing.
Step 4: Finish Up
This step is where you complete the piece and edit anything for last minute changes.
Step 5: Admire

Self Explanatory.


