Herzog: taking photos with an iPad

Hello! This blog post is the summary and story of my latest Maker project. This project is divided in two parts, Carr and Herzog, so this is just the first blog post for this project. I was assigned Herzog first so that is part of the project I are writing about today. Herzog was all about learning how to take intriguing photos and how to edit them. The driving question for this project is why is it important to use technology to further improve our ability to communicate and to think creatively? The reason we are learning this is because communication and creativity will be in almost all jobs by 2025 if not already and PLP wants us to prepare for that. The adult world connection is the understanding that we develop as we do the project, not exactly what we are working on specifically.

The big thing we learned was how to actually use the camera app in more detail. We learned how to make silhouettes by tapping and turning down the brightness and how to take Live Photos and edit them. We also learned what a panorama shot is and how to take one. Another key part of this project was learning about different camera angles. Camera angles are ways and directions to take a photo. I first learned about basic camera angles; Bird’s Eye, Worm’s Eye, Close Up and Long Shot. A Bird’s Eye camera angle is when you shot from above, while a Worm’s Eye is when you shoot from below. As you would expect a Close Up shot is one that is close up, while a Long Shot is one from far away. After we had all “mastered” those, we moved onto advanced camera angles. These include Eye Level, High Level, Extreme Close Up, Extreme Long Shot, Medium Shot and Canted Perspective. If you really want to learn about those click HERE. That link shows what those camera angles are. As well if you want an in depth look at basic camera angles click HERE.

Another thing we did in this project was… take pictures! I know right crazy! Taking pictures in a project about photography! Well we did. The first picture I remember doing is a silhouette one of DANIEL. CALLUM was also in my group. How we made a silhouette was by backlighting the subject, then tapping before you take the picture and bringing down the brightness. After that you edit and mark it up and you can colour in the background so it looks like a true silhouette. The next photo we did we did in the RAIN! We walked down to this beach near our school and then took some photos of the landscape. I had some help from CAMERON and KAI. I do actually really like taking landscape photos. I think they can be quiet beautiful. The last photo I am going to talk about is one we did for homework, manufacturing Moods. The mood I got to manufacture was tired. In my photo for it you may think I’m acting. I’m not. Well, maybe a little but my arms were tired from raking.

A big part of this project was learning how to use apps to edit photos. The first app we learned to edit in is Camera, the default taking and editing photo app for iOS. In camera you can crop, markup, choose the genre of photo and edit the fundamental things of the picture. Let me explain what those are. Cropping photos is when you cut some parts out. Marking up your photo is when you draw on your picture. Choosing the genre is choosing an option and changing the whole photo to do with that. Some examples are Vivid, Dramatic and Mono. Editing the fundamental things (this is not what its is officially called. I don’t know what it officially is) like the contrast and shadows. We also learned how to use Snapseed. In this app you can do all those things and more! As there are so many things you can do I’ll just tell you my two favourites, Healing and Head Pose: Smile. With Healing you can take out part of the photos and it puts there what it thinks should go there. It can get cursed very quickly. Head Pose: Smile is something you can do to force the a person to smile. This also can get very cursed fast. The final app we learned about is Pixelmator Photo. This app costs money! My favourite features in this app are Healing and ML Super Resolution. You might be thinking “but Mr. Judah, we already know what Healing is.” And to that I so no! Well yes, but here’s the difference: in Pixelmator Photo it… works! (Better) Now ML Super Resolution is it making it so it has, as in its name, Super Resolution! It can actually do quite a bit of work.

All together I did really like this (part) project. I think I did good and I’m content with my level of work. I did like taking photos and editing them, for some pictures can be really beautiful. My 

See ya around and goodbye, Judah G!

Survive the Plates

Survive the Plates

Hello! This blog post is the summary and story of my latest Scimatics project, Tectonic Chances. This project was about learning about the tectonic plates and making a game about them with probability. The Driving Question for this project was “How are thematic and mathematical elements used in game design?” 

The first thing we did for this project look at the launch and start draft an idea of what we wanted our game to be and its rules. I knew from the very start of the project I wanted to have a game where your trying to outlast the other players playing the game. I talked with Chris if there should be cards to make it so you attack other players so they would have to defend against you AND the catastrophes. He thought I shouldn’t so I decided not to. Looking back on it, it was probably a good idea because that can really make some feel bad situations. In this stage we also started a Mindmap about our game and the project as a whole. Launch done, on to building knowledge.

The first thing we did for building knowledge was learn lots of scientific vocabulary about plate tectonics. We did this by reading textbooks. This was super interesting to me not just because the subject was interesting, but this was the first time I used textbooks. It was cool being able to go at your own pace but all finish by the end of class. While taking notes without falling behind! Textbooks are not as bad as there cred would suggest. Also we did workbooks about the information in the textbooks. For anyone who doesn’t know what workbooks are they are textbooks except with questions.We also did some quizzes on Khan Academy which was my first time using it though I had heard of it. Something about the quizzes that confused me was that you were allowed to do them multiple times and give the highest result for your grade. Does not make sense to me. Building knowledge has been built now onto Develop and Critique.

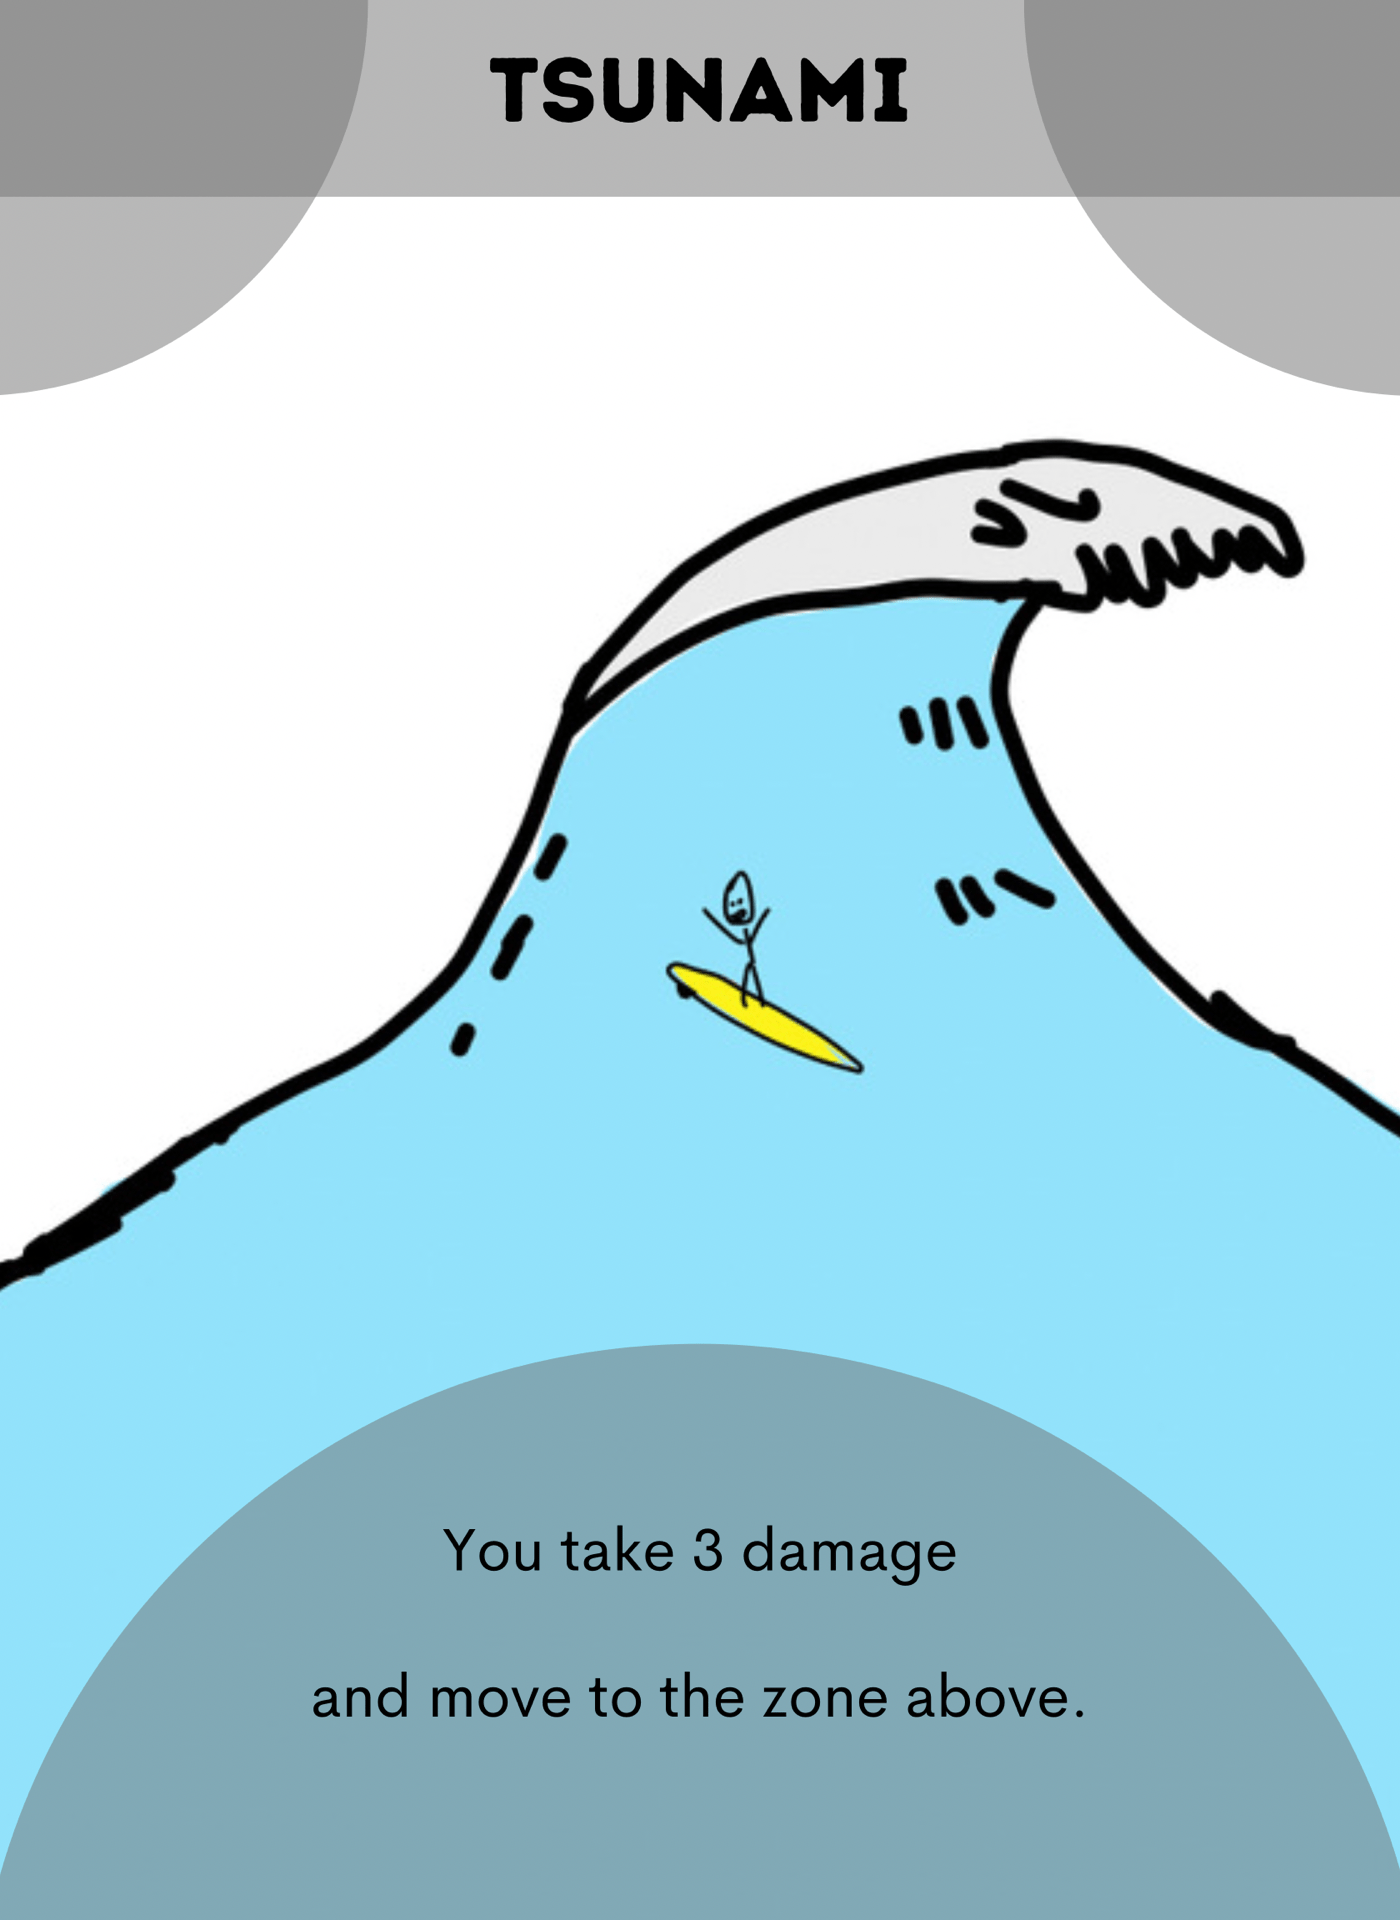
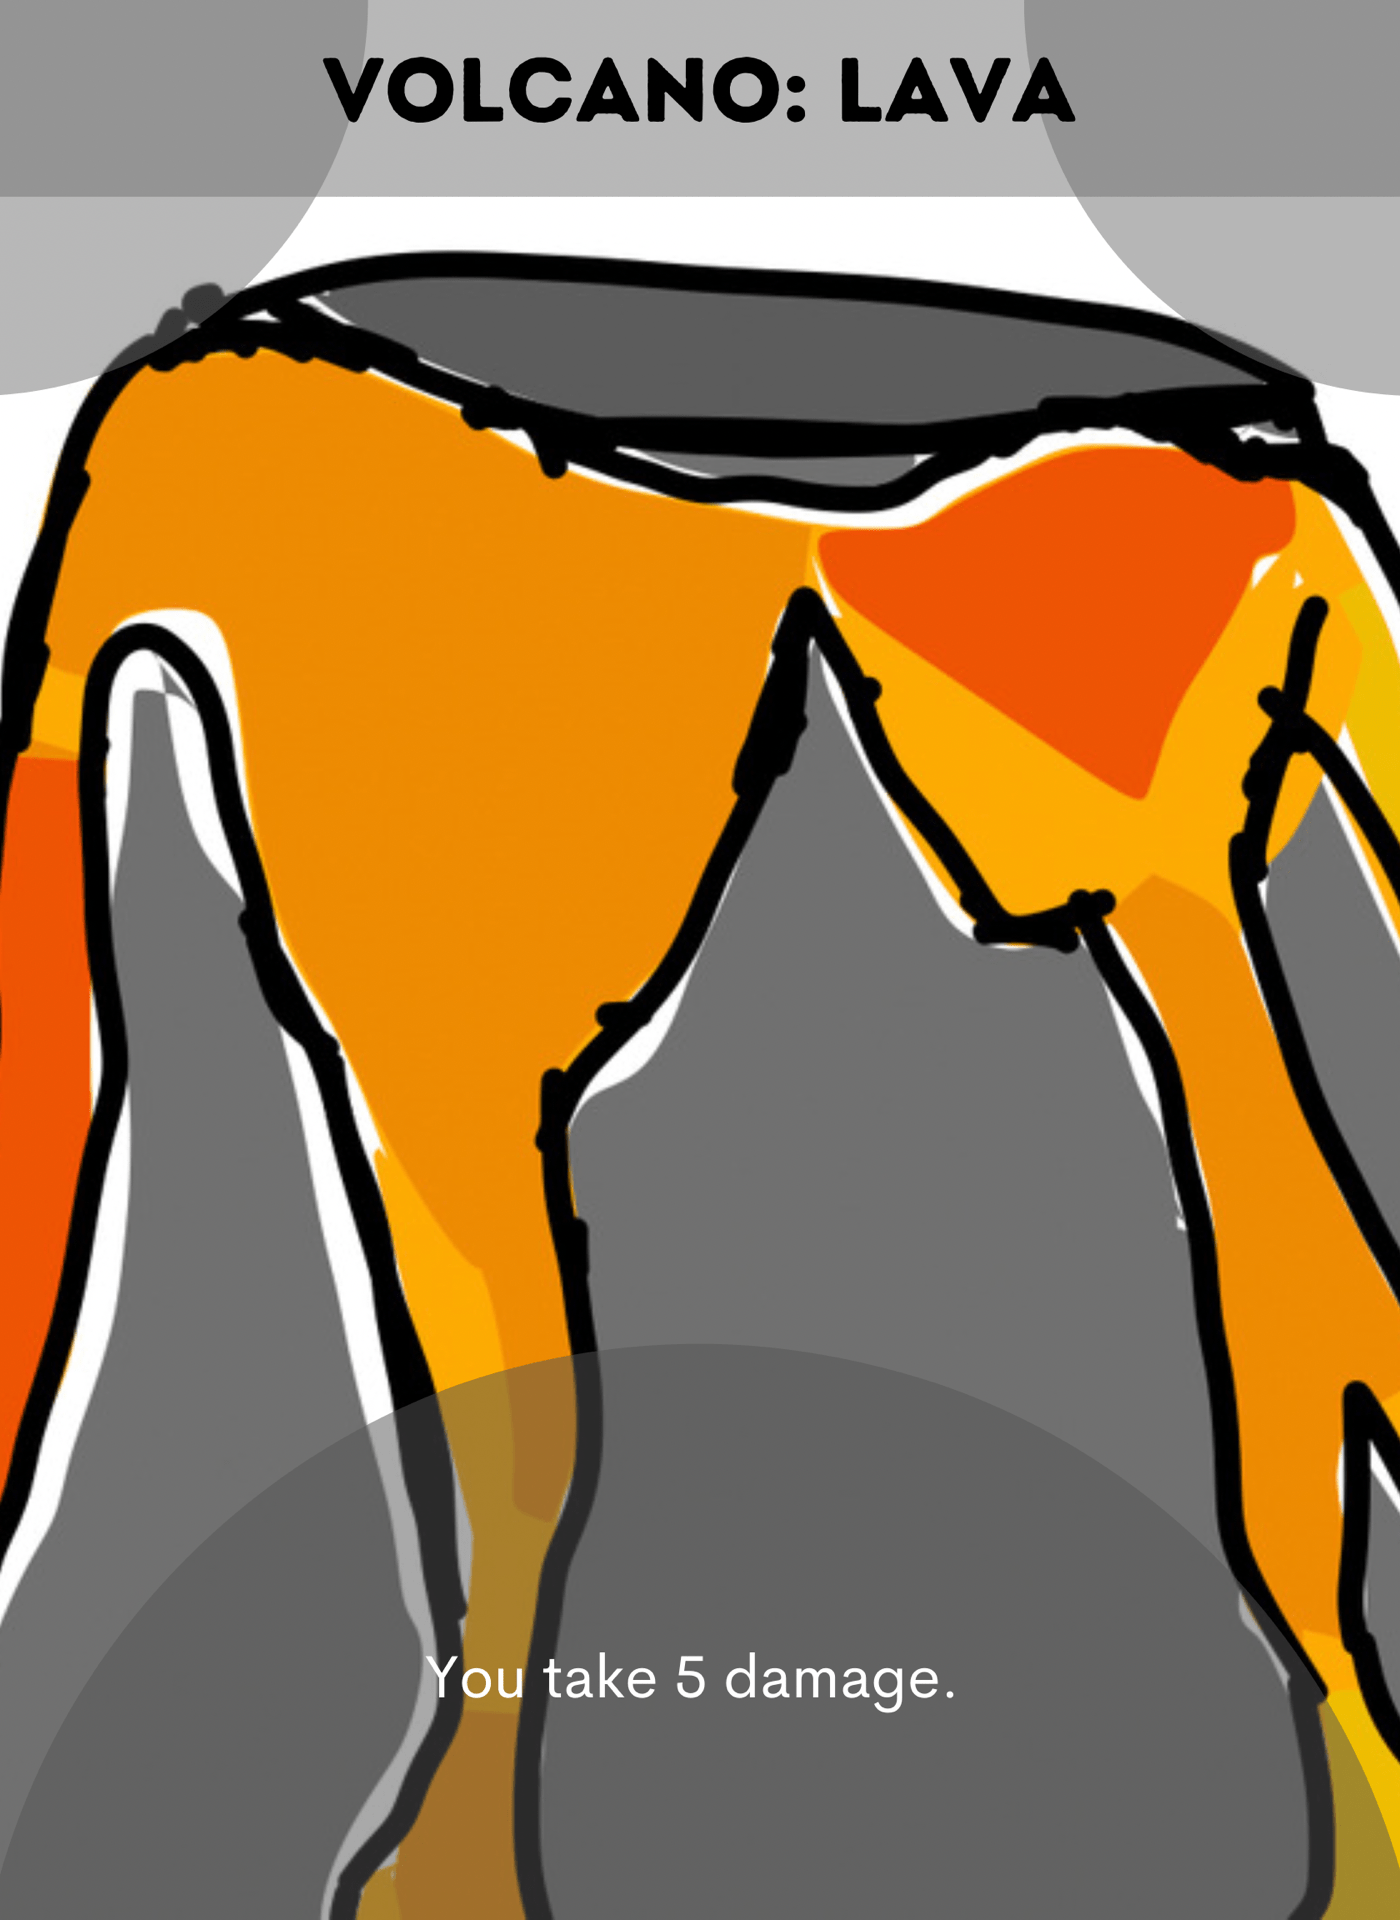
In Develop and Critique we started building our games and editing according to feedback. I chose to build a card game so I started working on the designs in Canva. Canva’s an app that is used to make things like posters and logos. Before we knew it we started working on our final rules draft! This was big so we couldn’t screw it up. I worked on rules all class. Though about balancing, checked spelling, did calculations. I’m just kidding it wasn’t so bad. The criteria for it was have calculations about how probability is used in your game, a drawing of how the game, and of course the rules themselves. The next thing we had to do was build it. The only thing I had to do was design more cards and print them out. I worked on lots of drawings and got feedback for them. People really liked my goofy way of expressing the catastrophes, so that was good. Next I had to print them out and cut them. I got some help with my dad and it was actually really nice spending some time with him doing something’s that he’s really good at. With my game build and having critique in hand we finish Develop and Critique.

In this next part I learned that my game is genuinely fun to play. Personally I don’t think it’s amazing but it’s at least a little interesting. The people that I got to play my game with were Luca, Hayden, Caitlin and Kira. Luca is defiantly the one that knows the game the best since he has played the game the most. Hayden, Caitlin and Kira were the next people who played my game. Caitlin actually drew on one of my cards with a marker. After they all finished my playing my game they got the chance to fill out a rubric and give me an artificial grade. Now that that’s done we can write our blog post… which we’re doing right now! How these things tie themselves up!

All together I did find this fun because what we were learning was interesting and we got to make a game! I found this a great learning experience and I do find myself still remembering about the things we learned. I favourite part of the project was probably doing this experiment with different temperatures of coloured water.

See ya around and goodbye, Judah G!

Summary of Becoming a PLP Learner

Editors note: there is a video with my Keynote Guided Tour at the end that has all the things that Judah talked about in this post(yes this is Judah making this note but I thought it would be funny).

Hello! This blog post is the story and summary of my first Maker project, Becoming a PLP Learner. This project was about exploring who we are as people and applying that the PLP Team. The Driving Question for the project was “How do I build and strengthen the PLP Learning Team?” My main team members and people I worked with were Dylan, Jupiter, Andrew, Max, and Caitlin. The final part of the project was making and giving a presentation on a time capsule of yourself including the main things we did for this project.

As soon as they taught us about what we will be doing for this project and how to use the main apps, they through us into it head first. The first thing we started was the Big Life Journal. It is a workbook that we went through each day for the whole project. It was filled with thinking about the future, making goals, and strengths and weaknesses among other things. Something that I had fun making was my interest brain. It was a a picture of a brain with arrows coming off about the main things I like, my interests. Another thing I created was an app idea. My app was one that helped you improve your memory by choosing a picture to remember then later you will get a ping to choose the picture that you were supposed to remember. 

We also made a Team Member Contract for the time capsule. This was something we created to represent what we can do and will do for the PLP Team. It included my Memoji Laptop, an picture I specifically drew for the Contract, and some parts of my User Manual. A User Manual was a text we created that was basically an Apple manual for ourselves. I had a setting that was Emotional Monster! It was quite enlightening and fun to make, especially when we got to see our teachers. The drawing I did for the Contract was of different objects or symbols for things I can help with. For example I drew super glue because I bring us together.  My Memoji Laptop was a emoji of myself that had a laptop with stickers of things I like. Some stickers that I remember are my sweatshirt and the MTG logo. 

I also made something physical! I know, crazy for PLP but it’s true! We called it a physical representation, well since its physical and it represents something. It represents how we can contribute to the PLP Learning Team. It that sounds familiar it’s because it is. We are making lots of things that represent us in this project. You might be confused why I made it with such weird and obscure objects. Well, we were given three choices of objects and I choose Table B. (Mr. Hughes teased Ms. Willemse unsurprisingly about calling the different choices tables) I also made a key to what the different objects represented which we called a Artists Statement for some reason. It kind of makes sense, but I think calling it a key makes more sense. Making the Physical Representation was actually a nice change to working on the iPad.

We also had to choose one more thing to put in our time capsule. I choose to put the Mentor Text Connection. I loved creating this, it was amazing. Remember the User Manual? Yeah, our teachers made some to give us as an example (for some reason they called their’s Mentor Texts). After we read them but before we made our own we analyzed them and found different things that were different and similar. My favourite part about this was keeping in with the theme of Apple products, so I wrote it as an product review (you can probably see I found myself quite clever there)!

Overall, this project was a great learning experience and was super fun like all of PLP so far. My favourite part of this project (though not really connected) was realizing that I wanted to work for Wizards of the Coast through the BLJ!

See ya around and goodbye, Judah G!

PS: here is a video of my time capsule presentation (also known as a Guided Keynote Tour).

https://www.youtube.com/watch?v=js1IFV3XYQA&t=6s

PSS: I know I could have edited the post but I wanted to use PS!

Summary of Medium is the Message

Summary of Medium is the Message


Hello! This blog post is the summary and story of my first Humanities project, Medium is the Message!

This project was all about learning and creating ads for real world businesses. The driving question for the project was “how does what we hear, read, and see influence us?” I did the this project with my fellow PLP students, Dylan, Caitlin, Max, Andrew and Jupiter. The business we were assigned was Deep Cove Music, which is a business in Deep Cove that teaches music lessons and sells instruments.

After we learned what the big idea for this project is, we started developing knowledges about different ads. Some key things that we did were our Advertising Photo Journal, a Zoom Interview with a Mr. Hepburn (somebody in Vancouver that is an advertising consultant), and a Historical Media Analysis. Our Advertising Photo Journal was a place where we put pictures of ads that we found in our day to day lives. After we got lots of photos we answered some questions about the them ads. The Zoom Interview was done as a class and we all took notes about the things he had to say. The main thing he taught us was KISS, Keep It Simple Stupid. I didn’t like how he put that so I just remembered to keep them simple. Another key thing we did was a Historical Media Analysis. We chose an historical ad and then we analyzed it and answered some questions. The ad I chose was the “How many licks” by Tootsie Roll in 1968.


Then with all the knowledge we have about advertising, we started making ads. The original one I had was not very eye catching and it also had to much information.  I went through quiet a few drafts before I realized this. When I did I changed the the lists that I had to one sentence about their lessons, which was the main product they wanted us to advertise. It looked much better but I could do better. Then I got some feedback about how I should make the photo around the words, but instead the words around the photo. Immediately I changed it by making the photo bigger and touch the sides. I was happy with my final group ad.

 Next we looked over the other ads my group members had made. We look parts that we loved about them and smushed them together. We worked hard on drafts for our Final Group Ad. We sent them to Mr. Hepburn and Deep Cove Music. We got feedback about making the background something in Deep Cove and also to make the formation of the title more interesting. We make the title pop fast. We did have to do drafts but it wasn’t that hard. Then the background. We needed to remove some of it from the photo we had of a guitar. I spent hours doing this because as soon as I completed the task, it deleted the progress. I couldn’t do it. Luckily one of my group members got it and finished my Group Ad. We chose which one we though best and we finished our Final Group Ad.

Now some things I had trouble with in this project were, admittedly, working with my group members. I am not really a team player and I don’t like group projects. I really want to get better at this and I believe I am. This is a big reason I joined PLP, to learn to work with others. Another thing that was challenging was just all the homework we had to remember along with our other classes. I have gotten through it though and I have learned to write homework to do as soon as I get it. Some of the things that wasn’t so hard was staying on task and reminding others to do the same. I remember so many that my group was derailed and I got them back on.

Now on to the answer to the Driving Question: how does what we hear, read, and see influence us? It influences by getting into our brain and sitting in the back of the unconscious. When this happens we will remember it and do what it tells us to do within reason.

Hope this was either helpful or interesting.

Goodbye for now, Judah G!