Category Archives: Maker

Applied Design and Technology skills, work with the iPad

DI: Final Post

If you don’t know what DI is or want to learn about it you should read my previous blog post before you read this one. Here’s the link: https://www.blog44.ca/oweng/2022/02/02/d-i-bacterial-besties/

Since my last blog post, my team and I have kept on practicing, building and fixing our broken props and costumes.
Some stuff that we’ve built and repaired since then are:

Our sign:

Our backdrops:


Our salmonella costumes:

And our team car:
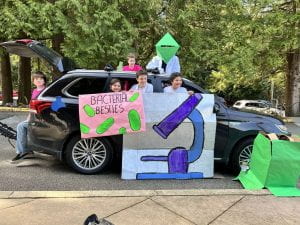
On the day of DI, my team and I got to Saint George’s at 10:30, got all our props together, fixed some minor things that broke, presented our story, did our instant challenge, took our team photo, and then we left.

Overall in DI, I think I was accomplished because I helped my team with lots of work, such as helping with the script, building props, and researching. Also because I memorized all my lines and had my costume prepared. Some things I think I could’ve done better are trying to meet up with my team more at the beginning and doing dress rehearsals more often.

On the day of DI, I think I was extending because I arrived on time, had all my props with me, had my lines memorized and was prepared for my presentation and the instant challenge. I think I could’ve helped make the transitions between scenes more smooth during our presentations.

And here’s the video of our presentation:

And if you want to read about my teammates’ experiences here are the links to their blogs: Jackson, Susan, Caden, Kadin, Callum, and Naomi.
D.I.:Bacterial Besties

“Destination Imagination is a hands-on, project-based educational experience that encourages creativity, collaboration, communication and critical thinking skills. Destination Imagination applies the creative process to help student teams create their own unique solutions to the requirements posed by the Challenges”-Destination Imagination

My group’s team challenge in Destination Imagination is Up Close scientific. And in Up-Close scientific we have to make a story about the Microworld and characters encountering a mysterious object, you also have to have one microscopy imaging technique, and we chose darkfield. So far in Destination Imagination my group and I have written most of our story for our presentation, planned out what we need to buy, planned out our team choice elements, planned out meeting and already had 2 meetings. We’ve also already planned out our visual effect and started building it. Our team choice elements are music and

Our team is called the Bacterial Besties because our our story is about bacteria and the bacteria we chose to do it on is salmonaella.

You may be asking what is a team choice element?

Well, a team choice element is something that shows off your teams strengths. For example, one of my team’s team choice elements are music, because we all like music and are creating a soundtrack for our story.

Also, what is the mysterious object?

The mysterious object is an object that a character or characters encounter in the Microworld.

What is the visual effect?

The visual effect something using a technical method to enhance the mysterious object. You may have more than one visual effect.

Here is something that my team worked on during on of our team meetings, it is for the background of our story.

Here is another photo of me and Susan building the support for our microscope in the other photo above.

My group also did built a wood support for black tablecloths that we would paint and flip over on certain scenes during the presentation of our story.

“Destination Imagination Instant Challenges are designed to help children understand that by working collaboratively and following their innate curiosity, they can approach any problem with confidence and tenacity. Instant Challenges can be performance-based, task-based or a combination of the two”-Destination Imagination

Another aspect of Destination Imagination is the instant challenge. The instant challenge is where you’ll be just your group and the appraisers, the appraisers will give you a challenge with a few minutes to plan and build and a few minutes to present what you’ve created with limited, random resources. Some things that will get you points in an instant challenge is teamwork, presentation, creativity, and the design of your creation.

You can also check out my team members blog posts here: Kadin, Susan, Caden, Callum, Jackson, and Naomi.
Mountain Biking: the Best and Worst

The best and worst of Mountain biking

Some of the best moments of mountain biking are:

Brandon Semenuk’s winning run in Red Bull Rampage 2019. This is one of the best of mountain biking because of some of the tricks he did. Those tricks included a top-side Nac Nac followed by a front flip on a double drop which were some of the highlights of his run.

Now, here are some of the best places to mountain bike:

British Columbia, Utah, and Arizona are some of the best places to mountain bike.

Some of the best places to mountain bike in B.C. are Whistler, Squamish, Revelstoke, Sunshine Coast, Pemberton. There’s a wide variety of mountain biking on all these mountains, everything from technical to flow to jump trails. And these trails get very wet in the spring and nice and hot in the summer.

In Utah some of the best mountains to bike on are Moab, Salt Lake City, Park City, and Bryce Canyon National Park. Biking in Utah is also very diverse just like B.C. but it is very dry.

In Arizona some great mountains to go for a ride are Sedona, flagstaff, Tucson, and phoenix are some of the best mountains to go biking on. In Arizona the conditions are very dry, just like Utah and also has a wide variety of biking styles.

Now for some of the worst of mountain biking:

Pro mountain biker and free-rider Jordie Lunn died. He died at the age of 36 while riding in Mexico. In the accident Lunn suffered a head injury that proved to be fatal.

Another thing that is part of the worst category of mountain biking are crashing, having bike troubles on the trail, squeaking, and the price of a new bike part/bike. Crashing is annoying because nobody likes to crash and it can hurt. Having bike trouble on the trail is also an annoying inconvenience that you might not be able to fix if you don’t have the right tools of equipment with you. Squeaking, whether it’s you or a friend it’s so annoying and you feel like everybody is judging you while you ride if they hear you squeaking. And if it’s someone else who’s squeaking it’s just annoying, but at least you have someone to blame. And buying a new bike/ bike part can brake your bank which isn’t ever fun.

Here are some sights where I got some of my information: Red Bull, The Manual, Two Wheeled Wanderer, Red Bull B.C., Utah Mountains, Arizona mountains, Jordie Lunn

Fun With Photos: Mountain Biking

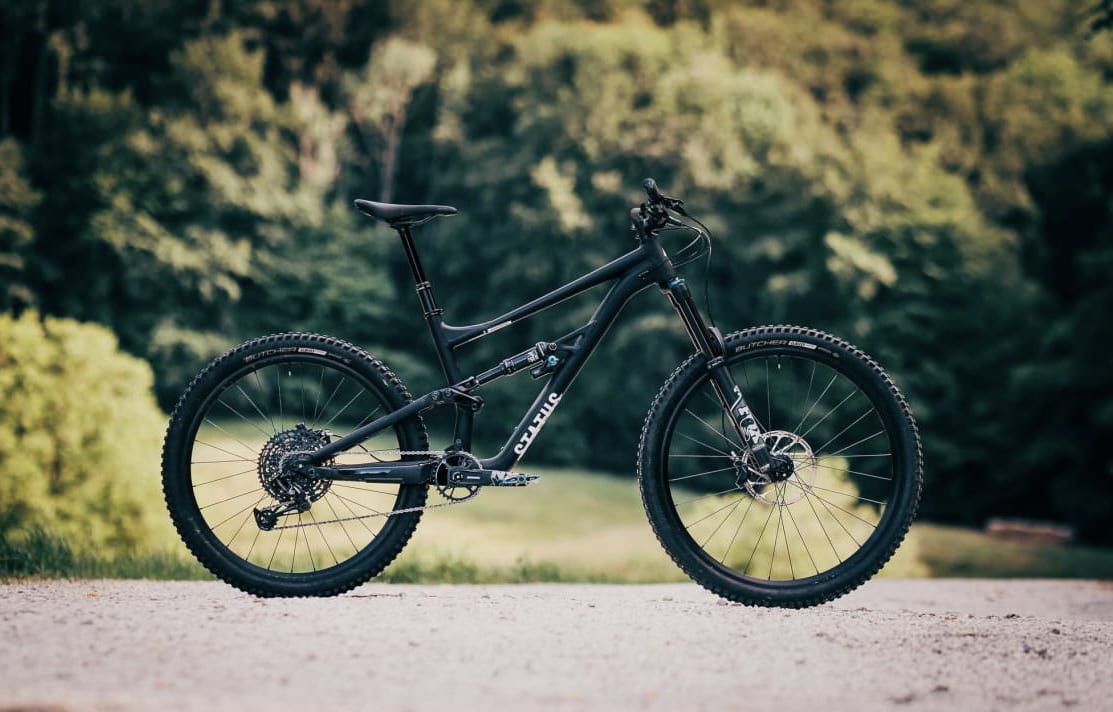
Here is the original photo I chose for this fun with photos post. It is a photo of my biking from June.

Here are some steps I took to turn it into this:

• First, I put it into pixel store photo and increased the resolution

• Next, I exported it into procreate

• Once it was in procreate I coloured the background all blue

• Then, I drew clouds in so it would look like a sky

I did this because when I’m mountain biking it feels like I’m flying when I’m going off a jump or biking through the wind, it’s like I’m soaring through the trail the wind rushing past me.

FAQ: For new Mountain Bikers

Question #1: What bike should I get first?

I would recommend getting a hard tail for your first bike, I would recommend this because you probably don’t want to drop a lot of money on a full-suspension bike for you first mountain bike. But, that doesn’t mean you should get a bike from your local Canadian Tire or Walmart. I would recommend going to your local bike store and talking to the mechanics there about what bike you should get in your price range and what size you should get. I would also recommend spending around $800 to $1500 on a hardtail bike.

Question #2: What kind of trails should I start on?

You would want to start on easier trails for your first time learning to mountain bike, I would recommend green circles or blue square trails for when you’re learning. Don’t only stick to one type of terrain you should try all terrain, and when you start getting better you can start trying harder trails and trying more and harder features.

Question #3: What are some good ways to learn how to mountain bike?

By practice, because practice makes perfect. Just keep going out every day and mountain biking and trying new and harder features and trails.

Question #4 But really, why should I bother shifting gears?

You should shift gears because it just makes biking easier. When you’re biking up you should be in an easier gear and when you’re biking down you should be in a harder gear. Doing this will save you energy make it easier to ride certain parts of the trail.

Question #5 Why do you need so much “stuff” to go riding?  

It’s always good to have lots of stuff and to be prepared with and extra tube in case you get a flat tire, a pump to pump up that tube, a multi tool, water, high energy candy incase you crash, and toilet paper if you need to go poop are some things you might want to take with you when you go mountain biking.

Question #6 Should I only use my back brake?

No, never only use your back brake when mountain biking. I see so many people do this and it makes me cringe. You should use both your back brake and your front brake equally when mountain biking. If you do this you will have more control of your bike, control of your speed, and grip on the terrain.

Question #7 How much space should I leave between me and the person in front of me?

I would recommend leaving a car length or two, but, that can vary. Such as when you’re biking up I am usually close enough that I can touch my friend so we can talk. And on flatter sections you can also get a little bit closer together. But a good rule of thumb is that you want to be close enough so that if something happens you can stop before you crash into them.

You can also check out this link where I got some of my questions!

Mountain Biking: and why it matters to me

My name is owen and I love mountain biking, it’s my favourite sport.

I love mountain biking because I love the rush when you do a jump, drop, roll, or another feature. I also like biking with my friends and spending time talking or yelling at each other. I also like how its an all weather sport, I go in the snow, rain, sun, and cold. Finally I also like getting pizza after a bike ride in the summer.

My favourite places to go mountain biking are Mount Seymour, Big White, Squamish, Whistler, and Sliverstar.

Here is a photo of me biking this summer up mount Seymour.

Constructive Creative Communication: Herzog

So far in Herzog we’ve been learning about photos and our camera. We’ve been leaning how to composing composition, adjusting angles, manufacturing mood, creating collages, moulding movement. So, how does this help us? Well, this helped us communicate more creatively by communicating through photos. And if you’re wondering how you can communicate though photos, I’ll tell you. Through photos you can communicate a certain message through the mood of the photos, the angles used, the subject of the photo, and the focus of the photo.

So now you know how to communicate creatively through a photo, now you need to know how to make photos with all of those things.

Here is my example of composing composition. Here you were supposed to take a photo of an everyday object and make it come to like by adding som simple drawings on it.
This is my example of adjusting angles. For this we had to get a photo of ourselves from when we were younger and recreate it. In this my original photo was a photo of me on the ferry with my head resting on a railing. I tried to recreate that to the best I could. To recreate the photo well you had to use the same angles and lighting. And also try to be doing the sam thing in the photo with the same background.
This is my example of manufacturing mood. In this the mood I got was crazed. This photo is a photo of my dog Lulu being crazy rolling in some self she found on the ground. In this photo you were supposed to try to take a photo that you thought represented to mood that you got well.
This is my example of creating collages. For this you had to make a blog page about you you can check mine out here. For this you were supposed to use a portrait of your head and instant alpha it. Next you were supposed to put some of you favourite things in keynote and draw arrows pointing to them. You were also supposed to take photos of random letters or things that looked like letters of your name. Next you put that into keynote and drew some patterns of something on the side.
Here is my moulding movement GIF. For this we had to make a GIF in keynote about something happening or us reacting to something. For mine I used a photo of my dog saying hello to me.

Constructing Creative Communication: Carr

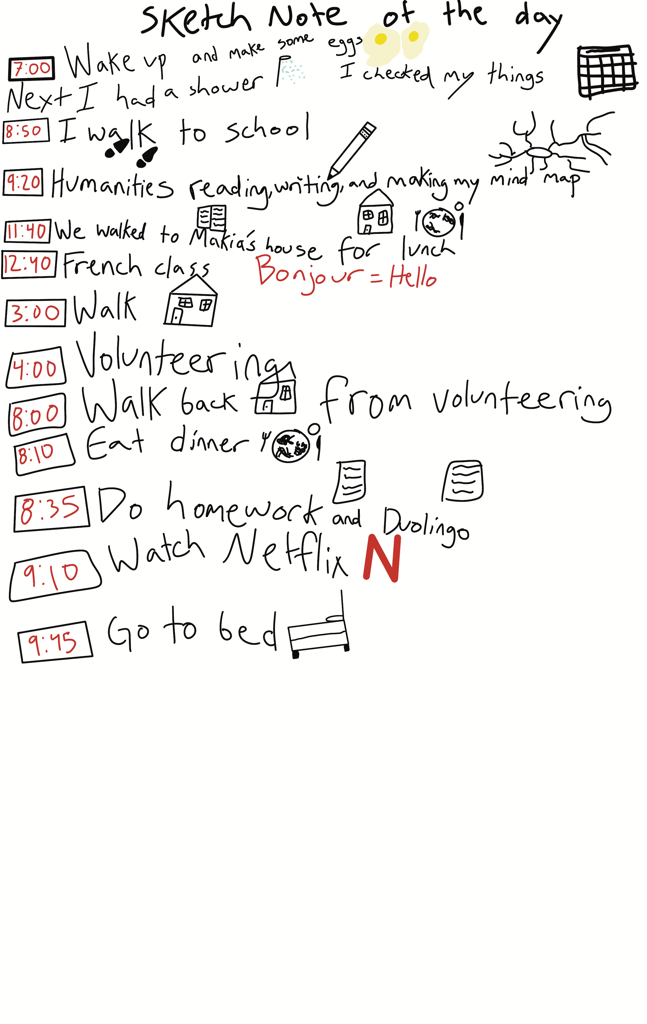
So far in Carr we’ve been learning about art and our Apple Pencil. We’ve been learning how to use pressure, sketch note, perspective, and using colour. I drew my name in big bubble letters, a sketch note of my day, drawing of a shaded mug, using perspective in a landscape photo, and a brand name for a brand that we made up. So, how does this help us? Well, this helped us answer the driving question for this project. Why is it important to use technology to further improve our ability to communicate and to think creatively? I think it’s very important because in the world we live in now it is full of technology, and we learned more about how to be more creative by drawing and writing. And we learned how to communicate when we zoom called a professional designer and when we were trying to communicate a message when we were making our logo for the company we created. So, technology is a really important part in our lives and I don’t think we could survive without it.

I also learned how to communicate through drawing and sketch-noting. You can communicate by using arrows, lines, dividers, writing, drawings and speech bubbles in your sketch-notes. You can also communicate your through art by drawing a picture when explaining something or to help you remember something.

Here is my shading reflection. I took a photo of a mug and drew shapes over it, then drew those shapes into sketches. Once I drew the shapes into sketches I started looking at the lighting and the shading around the mug. Then I started to draw the shading. I only used the pencil tool in this and didn’t use the shading tool when I was shading.
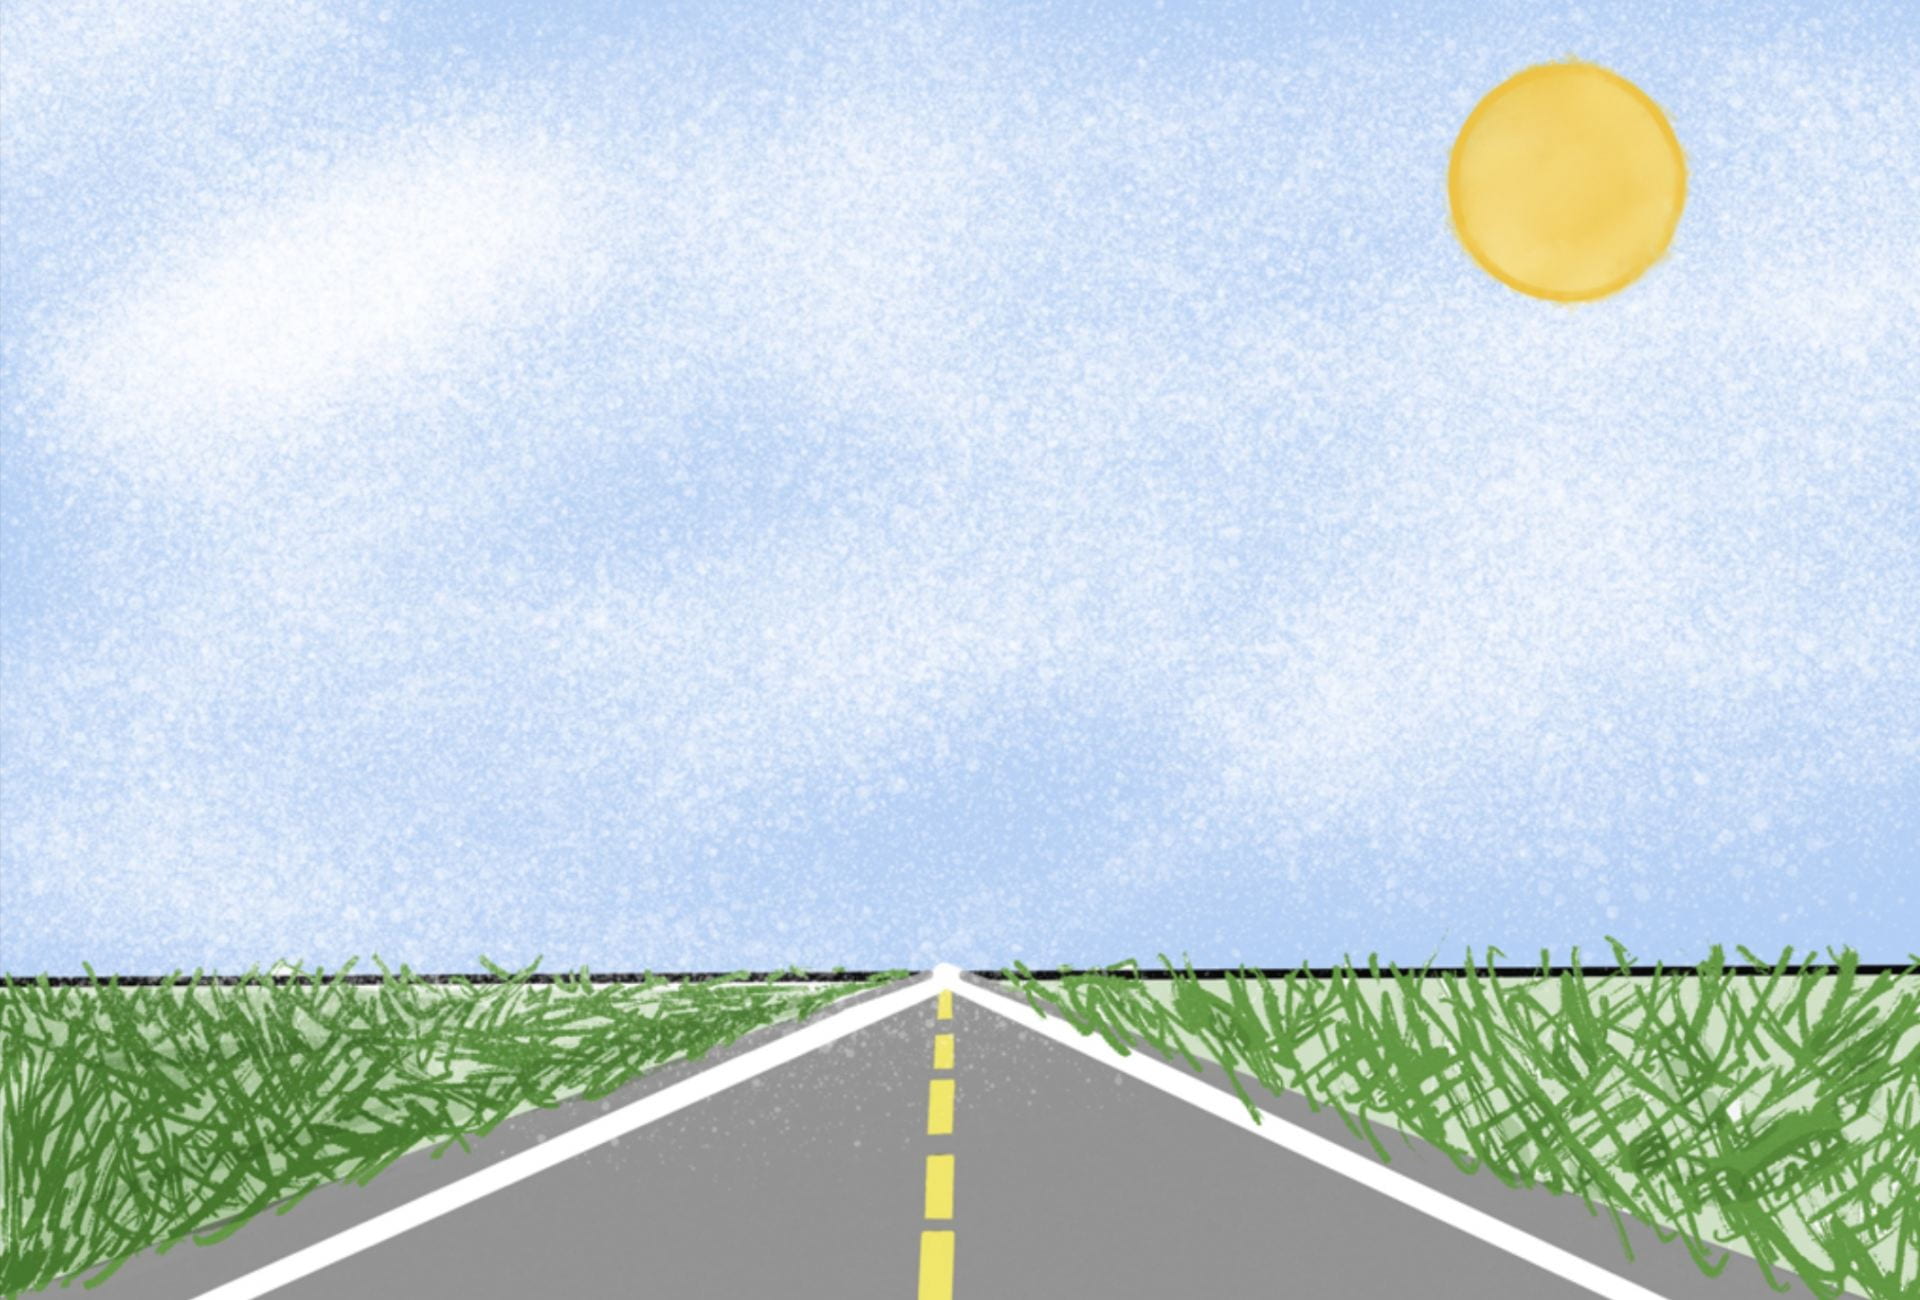
This is my landscape drawing. In this drawing I put a photo in the background and drew shapes around all the main features of the landscape: road, road lines and the horizon line. Next, I started to use colour. First I filled in the road with grey and drew white lines on either side. Then, I drew the yellow lines in the middle slowly getting smaller to show how the road is farther and in the horizon. Then I filled in beside the road with light green then went over filled part with darker green lines criss-crossing to make grass. Next, I filled in the sky, used the spray paint tool for clouds then drew a sun.
Here is my sketch note. I added symbols, used different text sizes, used colour, and a clock with the times inside it to represent the times of the day that a certain event happened.
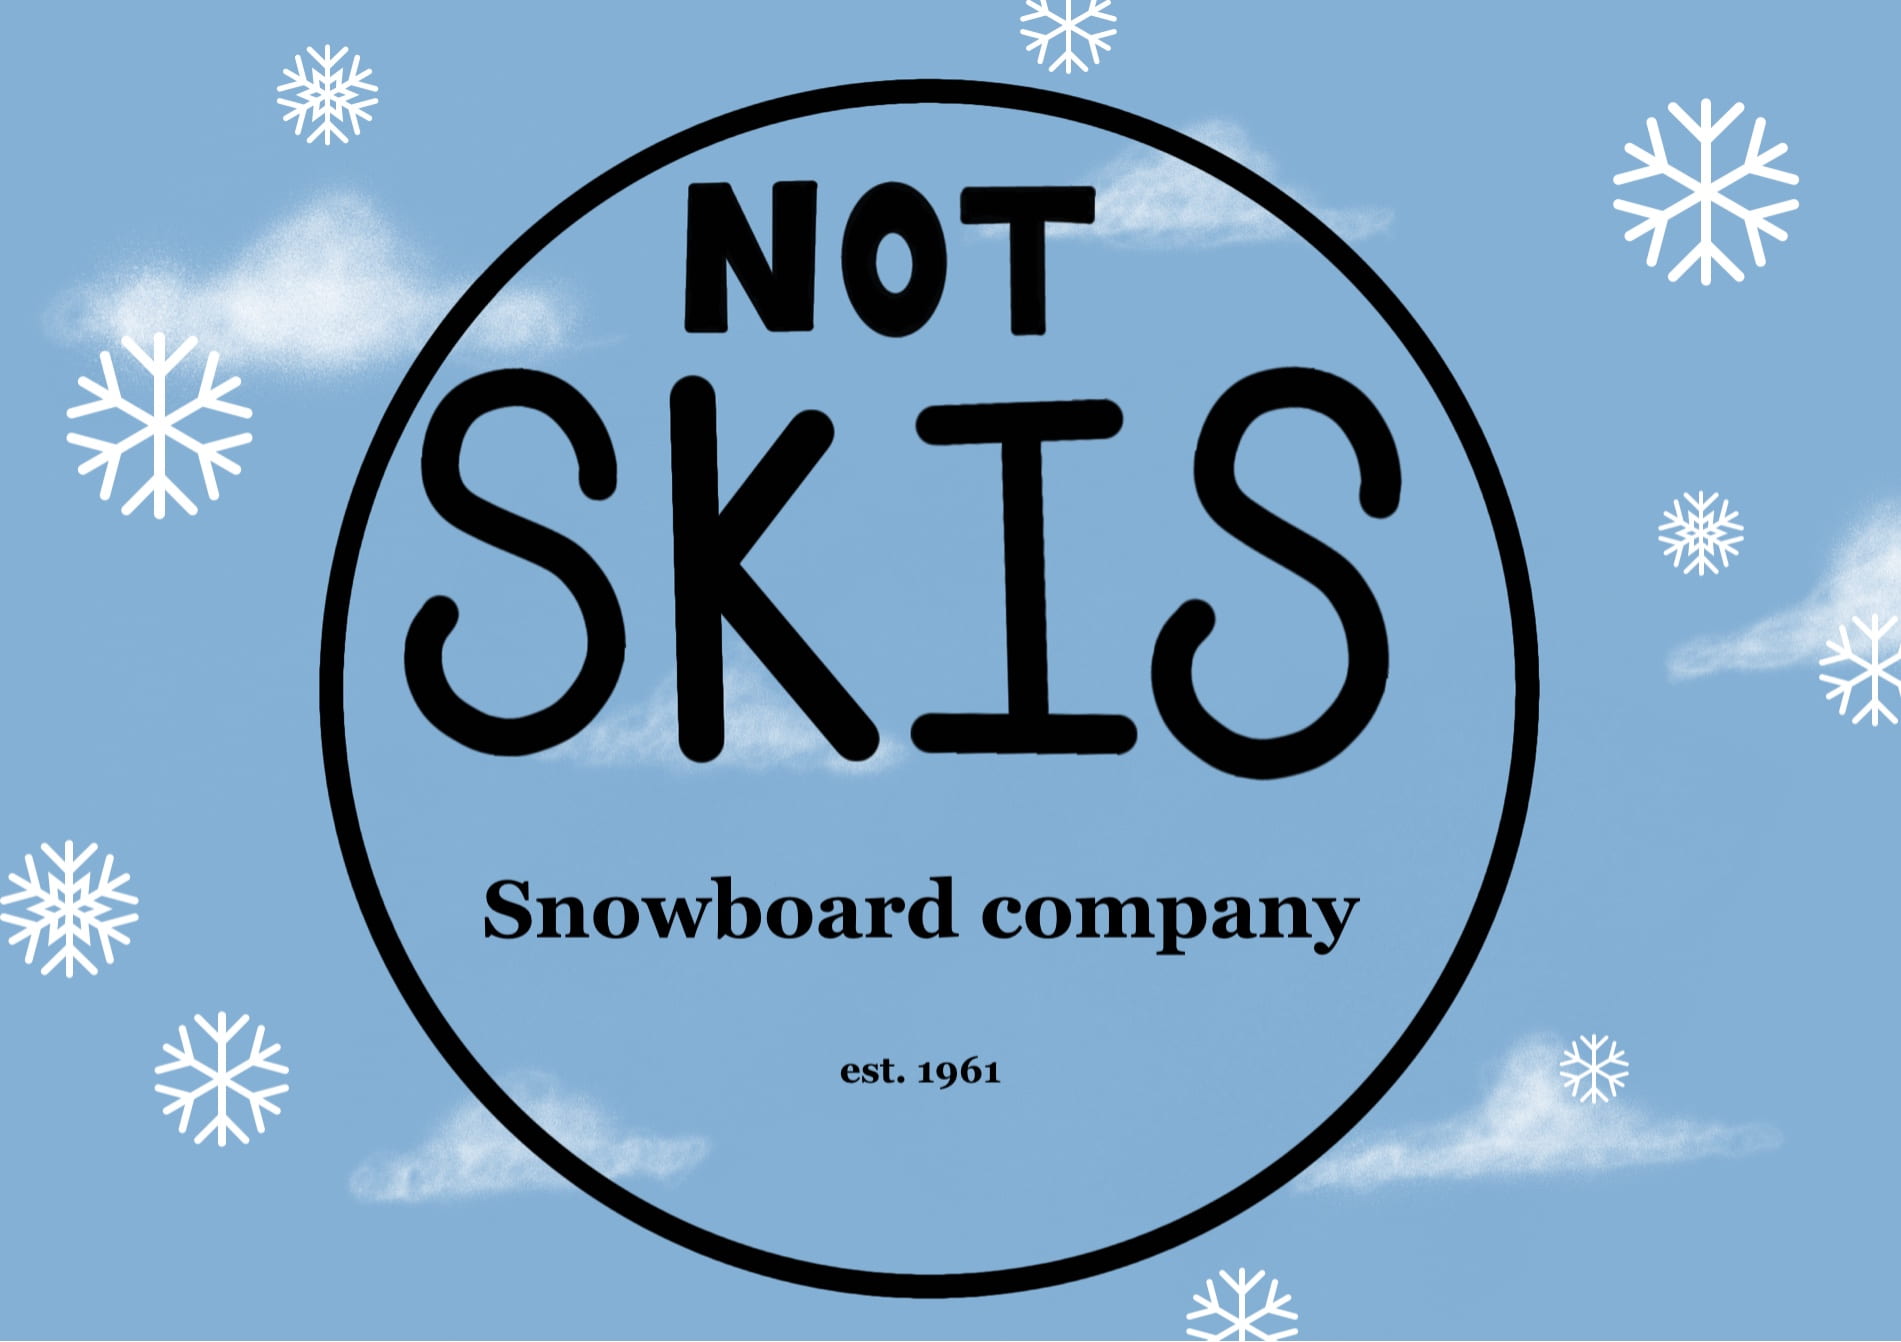
This is my logo. In this I used sketches and keynote. First to think of an idea I wanted to make a snowboard company because I like snowboarding and because we’re coming into winter. Next I tried to think of a creative name. After that I wanted the name in the circle. So I drew and centred the circle. Then, I drew a blue background and drew some clouds with the spray paint tool. Next, I put it into keynote and added some snowflakes and the words “snowboard company” and when it was established.

Becoming a PLP learner

So far this year in maker we’ve been working on a project called Becoming a PLP Learner. The driving question for this project was “How can I build and strengthen the PLP learning team?” And in order to answer that we had to learn more about ourselves and how we work in a team.

For this project in order to learn more about ourselves we were doing a set of workbooks called Big Life Journal. The Big Life Journal helped us learn more about ourselves as a learner and as a person. In this project we also did another blog post about a team member contract. In that blog post it included how we work in a team and as a team member. In order to learn how we work in a team we had to do some team challenges during the year so far. Those challenges included making spaghetti tower, stacking cups with some string, and trying to build the best tinfoil boat. After those challenges we had to write a reflection on how we did as a team member. Another piece of learning we did was a physical representation. For this we had a bucket with some craft supplies in it and had to make something that represented us and how we work in a team. My favourite one of all of these would have to be the Big Life Journal. This is my favourite because I definitely learner more about myself and had to really think for some of the answers, I also got to learn more about myself and my interests and learn some things about myself that I didn’t know before.

For this project as a presentation of our learning we had a public exhibition. During this exhibition we had to dress up, have a theme for our table group, prepare for what we’re going to say, make and perfect a keynote presentation and present in front of our parents and other parents. For my group’s them we picked a halloween theme with halloween decorations on the table with a black table cloth. For my group’s costumes we were wearing black pants with orange shirts. The orange representing joy, and black representing sophistication, also they were halloween colours. For the preparations I prepared by practicing at home and at school the day of the exhibition. For the keynote presentation we had to have a section for my team member contract, physical representation, big life journal, and one other choice. For my one other choice I did an about me section. My favourite part about this exhibition was the real life audience (parents and classmates parents). One thing I could work on in this exhibition was talking a little bit slower and and louder so I could be heard better through the mask.